In this tutorial I will show you how you can alter an unwanted jumpsuit into a band shirt.
You will need:
* fabric scissors
* pins
* sewing machine thread
* a sewing machine (a lightweight domestic sewing machine will do)
* bleach
* safety goggles
* disposable gloves
* a plastic bag/sheet
But SAFETY FIRST! Household bleach can harm you, so always read the label and wear personal protective equipment. I used disposable PVC gloves to protect my skin. To protect my eyes I used plastic safety goggles that encase all of my prescription glasses and are closed on the side and top too. You can find both these items at shops that sell building supplies/a hardware store. Despite bleach being a household chemical, it is not harmless so please do not underestimate the safety risk involved in working with it. For this reason, this project is not something to do together with children.
With the safety talk out of the way, let’s get crafting! A couple of years ago I bought a black jumpsuit from a charity (thrift) store but I ended up hardly wearing it: I realised jumpsuits are just not my thing. I considered donating it back, but then thought that I’d like to have another band shirt, and why not try to make one out of the jumpsuit? Here is a photo of the jumpsuit:

The jumpsuit is made out of 100% cotton. It is important to use cotton as opposed to a garment made from synthetic fibres because bleach will not work on synthetic fibres.
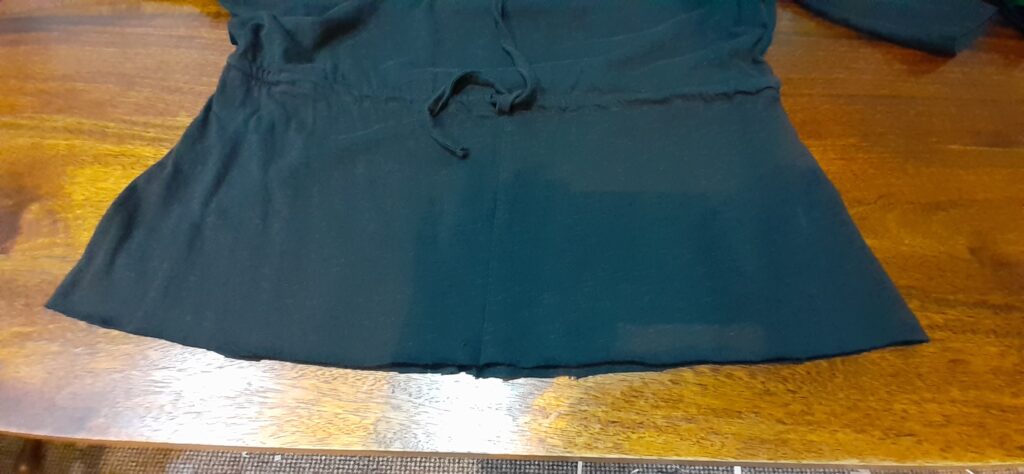
The jumpsuit has a draw string in the waist which I intended to leave in, and I cut in a slightly curved way following this waist to trim the crotch and legs off of the suit:
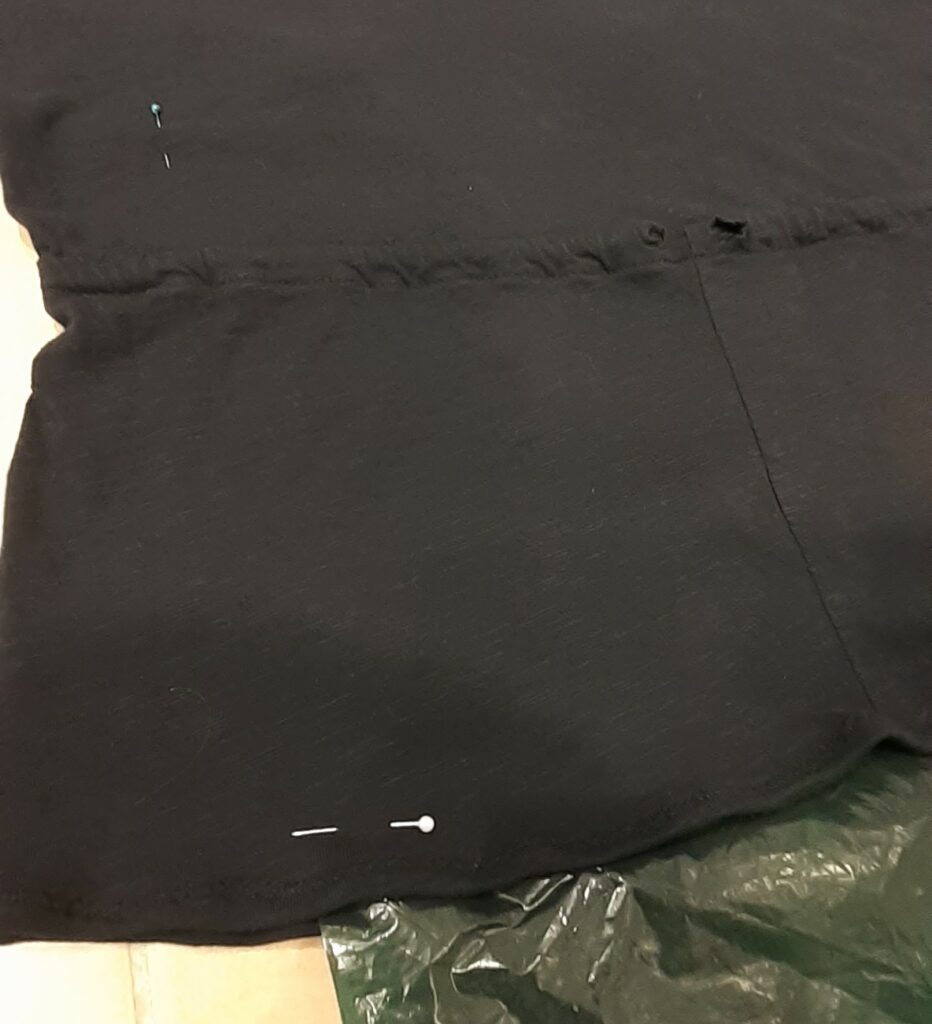
I used black polyester thread and a stretch stitch on my sewing machine. If you do not have a stretch stitch, pick a slight zig-zag stitch to make the hem (I used a simple hem folding the fabric over only once):

I then removed the cord from the waist and placed the T-shirt flat onto my tiled bathroom floor. Because I did not want the bleach to seep onto the back of the shirt, I cut open a shopping bag and placed it inside the shirt (you can also use a plastic sheet if you have one or possible even a piece of thick card if it’s all you have). I used a few pins to hold the shopping bag in place. Note that my bag was actually a little too small (plenty long but not wide enough) for the design I ended up ‘painting’ in bleach, so I have one small area on the back that got bleached too: whoops! The lesson here is to use a bag/sheet large enough to cover the whole shirt or to make a smaller design and draw that out onto your shirt before you start bleaching to ensure your design is not larger than your plastic barrier.

Now onto the bleaching! Now is the time to put your gloves and goggles on. Open a window for fresh air and keep any children or pets away.
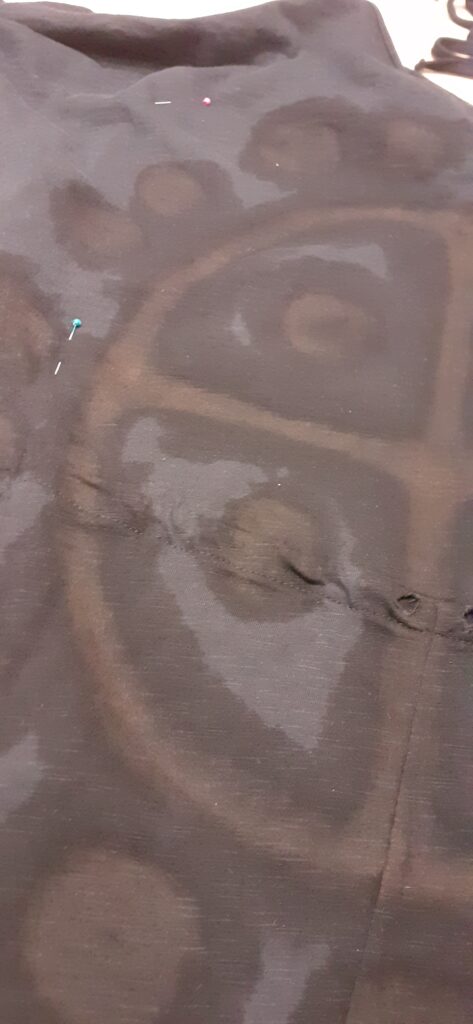
I used household bleach that I diluted with cold tap water. I did not measure out the amounts but I think the ratio was around 1 part bleach to 20 parts water (for a 5% dilution). I squirted a little bleach (estimated around 5 ml) into a clean glass jar and then added the water from the tap using a ‘calm’ stream as I did not want a forceful stream that might splash or overflow. I used a new, cheap paintbrush with synthetic hairs to mix the diluted bleach and to then paint the design onto the shirt. I chose the logo used by the folk band Sonne Hagal as it is one of my current favourites. I did not draw any guides on the shirt but went straight in with the diluted bleach. If you don’t think you can do this without a guide, you could perhaps use some pins to help with motif size and shape. You can see that the solution is drawn into the fabric so you will get slightly ‘fuzzy’ edges to your design:
I went over the design multiple times but it took a while to see any change in the fabric. I had already rinsed away my bleach dilution when I realised I wanted to go over it again so I made a slightly stronger bleach dilution and went over the design a few times again. If I were to do this again, I think I would make a stronger dilution from the start, maybe a 10% bleach dilution. It’s good to keep an eye on your shirt so you get the amount of bleaching you are looking for.

At some point I think the bleach had done all it could do and I no longer noticed a change. I filled a bucket with cold, clean water and placed the shirt in it to let it sit for an hour. I then drained the water and repeated this step twice (you can easily let it sit for longer). I then put the wet shirt in the washing machine to rinse and spin, twice, to wash away any excess bleach, and then let it airdry (I did not use any laundry detergent as I just wanted to rinse the bleach away). The result is a brown logo on a black T-shirt with ‘fuzzy’ edges. If I had used a (much) stronger bleach dilution I would have probably gotten a yellow design with possibly more-defined edges that would have bleached a lot faster than a more dilute solution.
I have previously bleached another black garment (although it was a different kind of weave) using undiluted bleach: I would not recommend this at all! It caused a lot of bad smell in the bathroom (which might be harmful) and was totally unnecessary as I now realise I could have used a strong dilution (as opposed to undiluted bleach) if I wanted stronger bleach effects, and just given the bleach a little longer to work.
I think the shirt came out nicely and I am debating whether I might want to go in and use a stronger bleach dilution to ‘paint’ the edges of the design to get yellowish edges with the current brown fill. We will see!
