In this second tutorial I will show you how you can easily add sleeves to a cardigan that has 1/2 length sleeves. You will need:
* fabric scissors
* pins or clips to hold fabric together
* sewing machine thread
* a sewing machine (a lightweight domestic sewing machine will do)
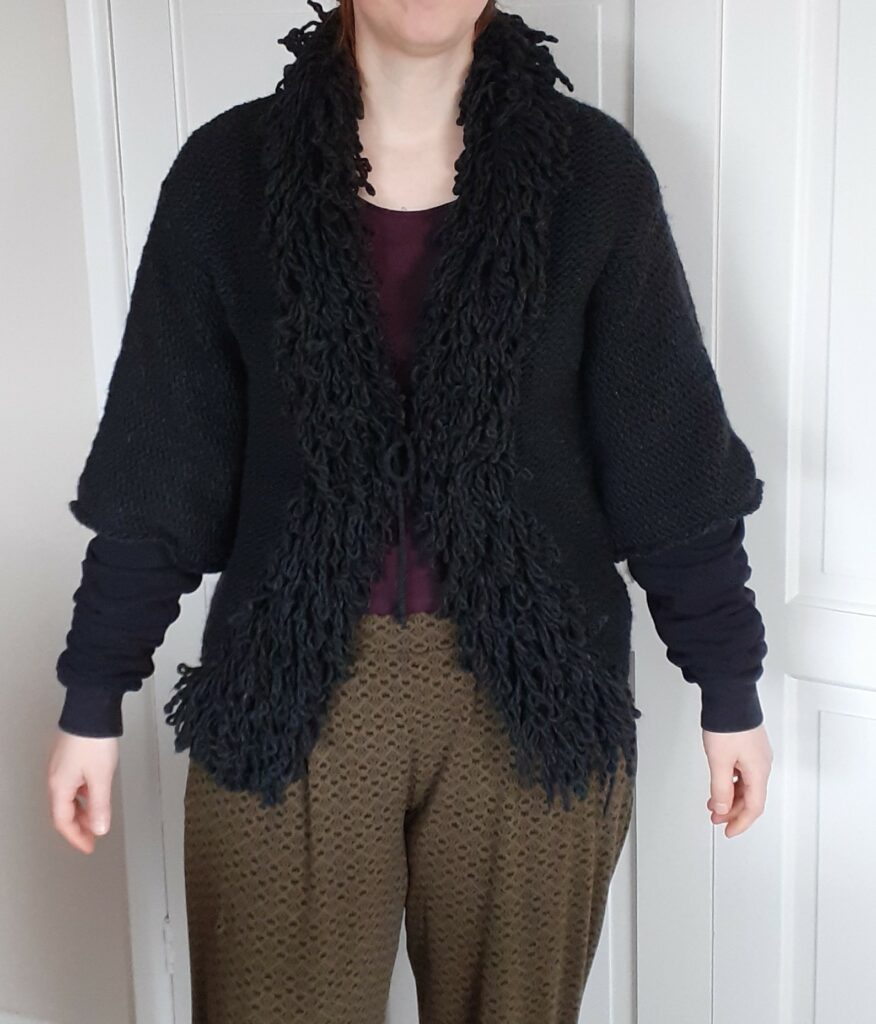
I bought a chunky knit cardigan at a charity (thrift) shop because I really liked the loopy collar and the colour grey goes well with most of my wardrobe (consisting mostly of black garments). However, I don’t really like the 1/2 length sleeves as it kinds of defeats the purpose of putting on a thick cardi. I knew I would at some point come across a jumper I don’t like but that has nice sleeves, hence the loopy cardi did end up coming home with me.
Remember my first sewing tutorial, in which I converted a jumper into a simple grocery bag? I cut off the sleeves as I didn’t need them. I held onto these sleeves so I could use them to alter the grey cardi. This is the position where I cut the sleeves off first (aiming to cut at a 90 degree angle with the sleeve direction):

So, onto the description of altering the cardigan itself. I started with a chunky knit grey cardigan with 1/2 length sleeves:

The sleeves were not gathered or cuffed in any way:

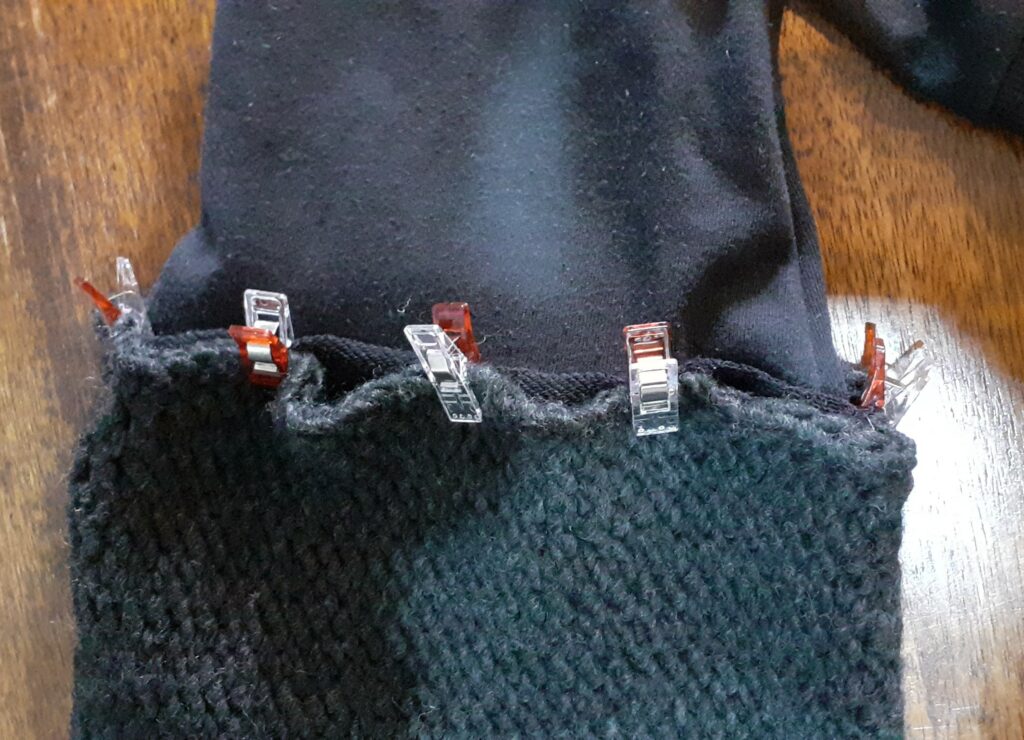
The jumper sleeves I am going to attach to this cardi sleeves are a fair bit narrower but as the jumper is made from a stretchy material, this doesn’t matter much. Use pins or clips to tie the jumper sleeves to the cardi (I do this by first clipping the seams to each other, then the halfway points of each sleeve circumference to each other, and then repeat at 1/4 and 1/8 intervals if needed):

I decided I’d like for the seam to be exposed on the outside so that I wouldn’t have a bulky seem rubbing onto my skin and I thought it would look cool if the cardigan would look somewhat ‘distressed’. Note that I did not shorten the sleeves at all so the result will be extra long sleeves. This is deliberate: the jumper sleeves have a tight cuff that will not accidentally slide over my hand, so the excessive fabric will fold/scrunch up, which I think would be a nice look.
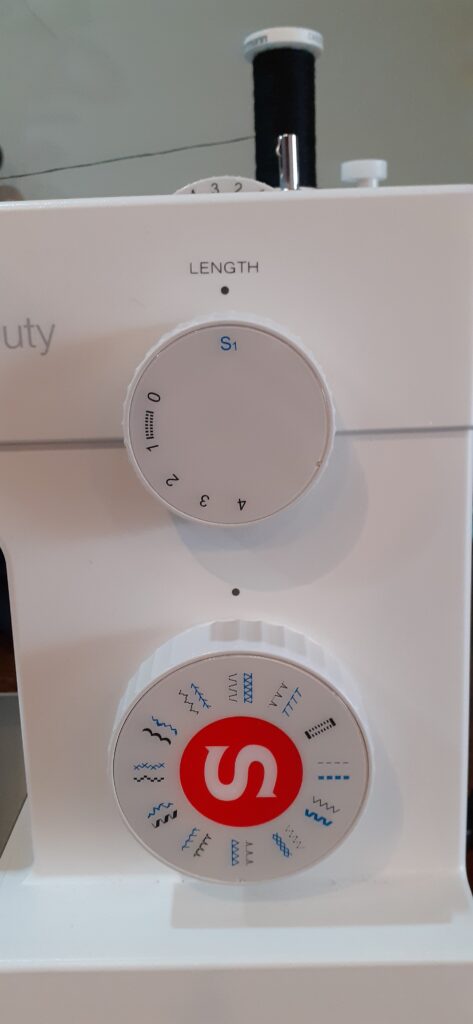
I use a Singer Heavy Duty 5523, using thicker Gutermann sewing thread (that can still be used in a domestic sewing machine) hoping it will be extra sturdy compared to the standard, thinner thread. I used an average thickness needle. If you do not have a stretch stitch, that is not a problem as you can use a slight zigzag stitch instead. My sewing machine setting:
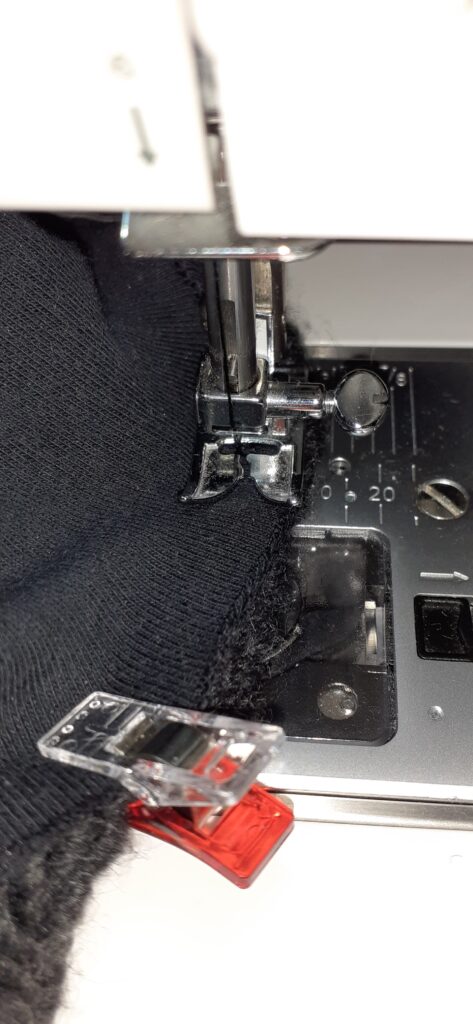
You want to attach the sleeves by stitching a seem around 0.5-1.0 cm from the edges of the materials all the way around the sleeve, starting at the inside (there where the vertical inside seem of the sleeve is) so that any blemishes by doubling over yourself when you complete the ‘circle’ are hidden. Because the jumper sleeve is narrower than the cardi sleeve, you will need to stretch out the former a little to make it span the same distance as the cardi sleeve (I found it easier to do this with the jumper fabric on top). Remove the clips one at a time, only when leaving the clip on would interfere with your sewing so that you remove them as late as possible. The following photo is taken after I’d already sewn a little:
The result is a comfy cardigan with long sleeves, long enough to not get cold and to even hide my hands in if I go outside in colder weather: