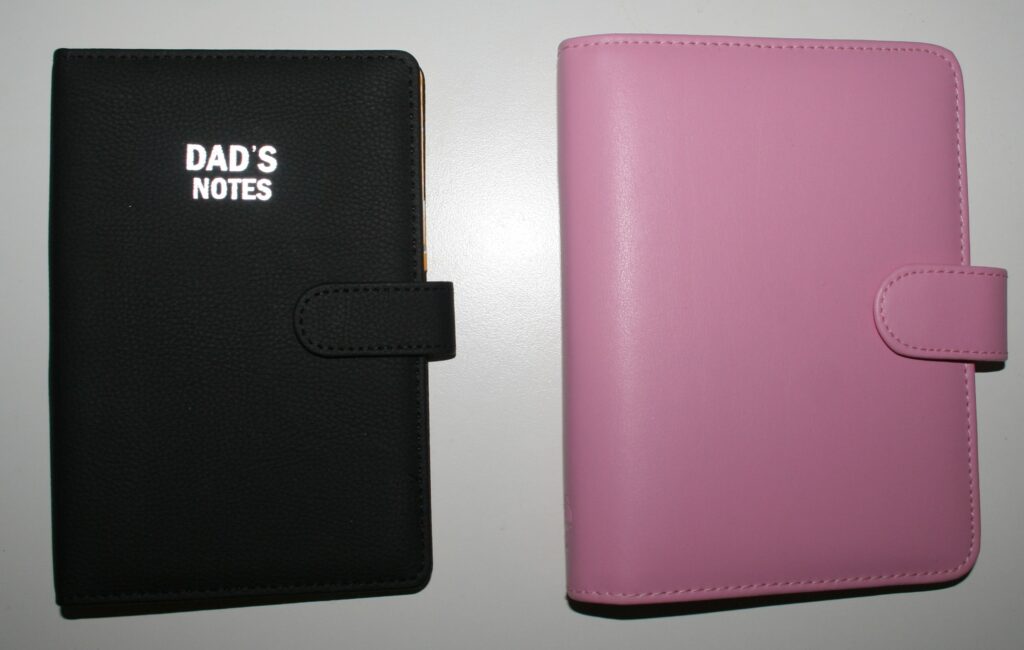
I bought a couple of spare organisers for the ring system as I intend to make my own ‘Filofax’ some day soon. I have an A5 Filofax that’s got a damaged cover which I want to harvest the rings from (not pictured in this post) as well as two organisers in Personal size which I intend to also take apart so I can re-use the rings. The black one is an unbranded organiser; the pink one is from the brand Collins:
The ring size is a little larger in the pink one:
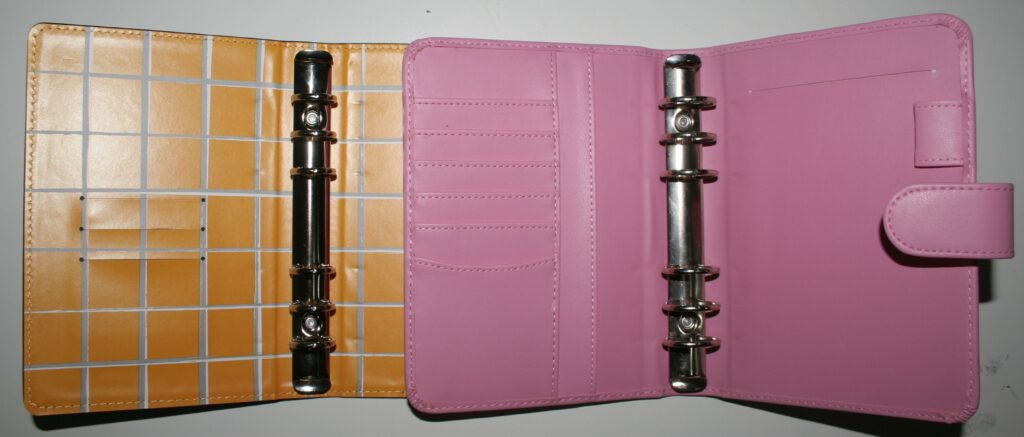
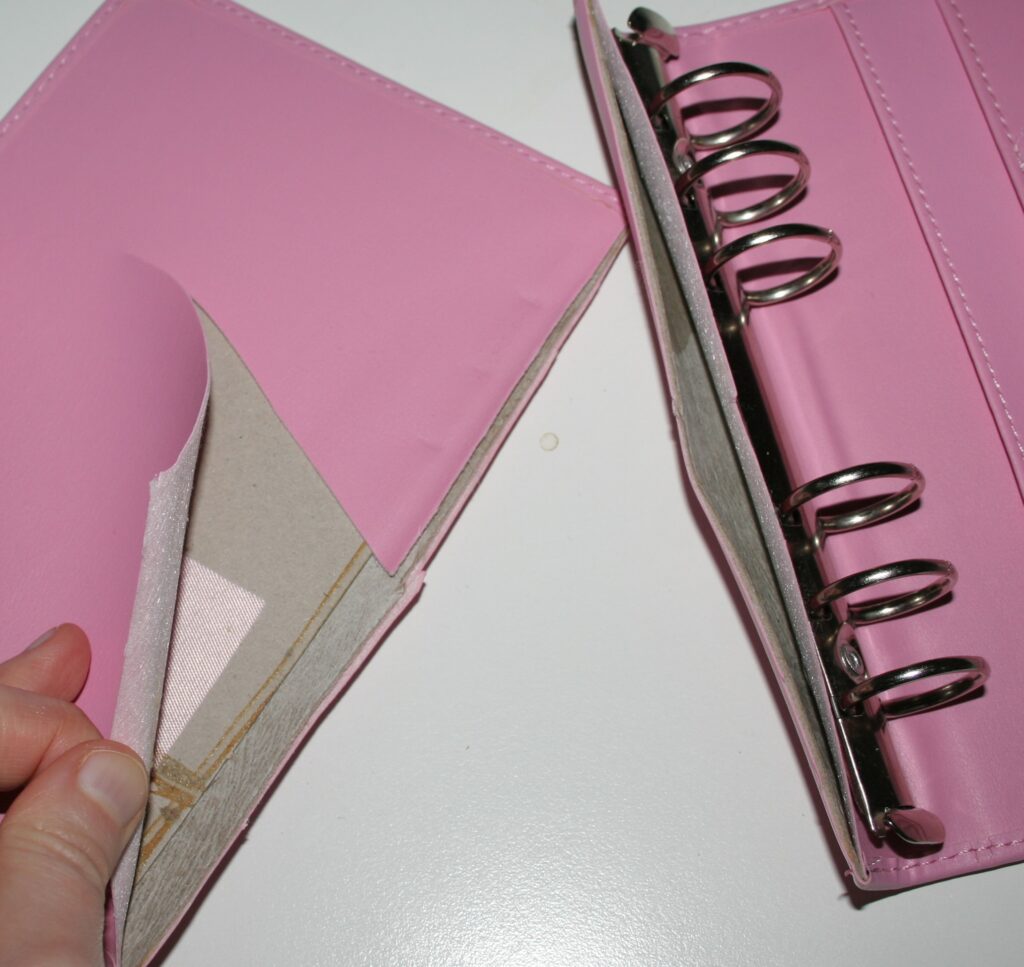
The pink one looks like it was never used but the faux leather has started to crack nonetheless:
I could easily cut through the pink planner using large scissors. The cover was reinforced with light padding and card:
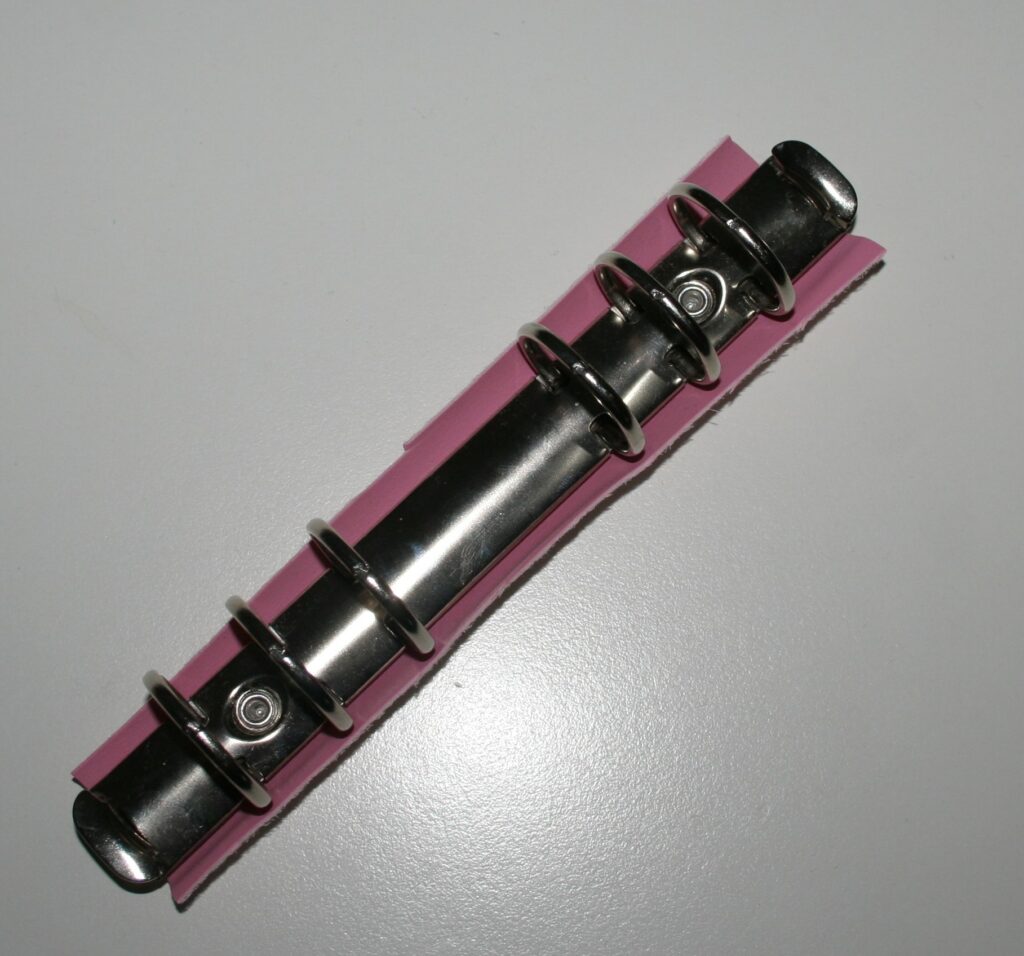
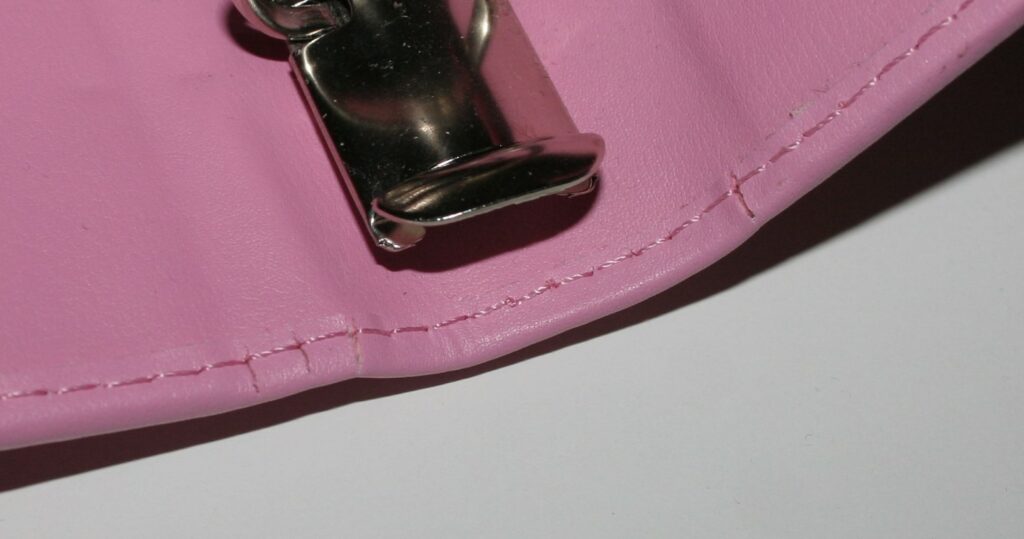
The issue is that the rings are attached using rivets instead of screws and the only way to take this apart is apparently drilling through the rivets. I’m not super keen on trying this but I will, some day. Maybe.
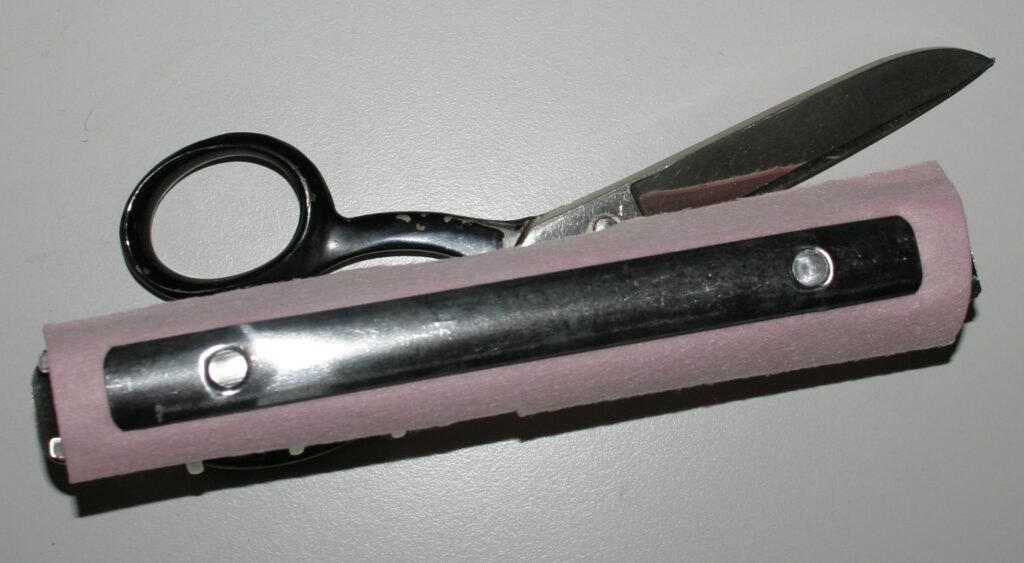
I am looking online to see if I can order a rings set that comes with screws. And if I am going to pay for a new set anyways, I want the inner ring diameter to be 30mm so I can make my ‘dream’ organiser.
I know I want to use heavy-duty tarp for the cover, so a while ago I ordered two sample pieces. The material is fairly thick as far as a ‘plastic sheeting’ goes. I tried sewing it using my Singer Heavy Duty (a domestic sewing machine that is supposed to be a bit more powerful) using the white thread (regular thread) and yellow thread (denim thread) in the black sample piece. I also used the industrial sewing machine available to me as part of my sewing course (using black denim thread). It’s the first time I used an industrial machine and I am in love! It moves to smoothly and effortlessly through the tarp, I now want one of these machines, haha! The black stitching in the black tarp and all of the stitching in the grey tarp is done with this industrial machine:
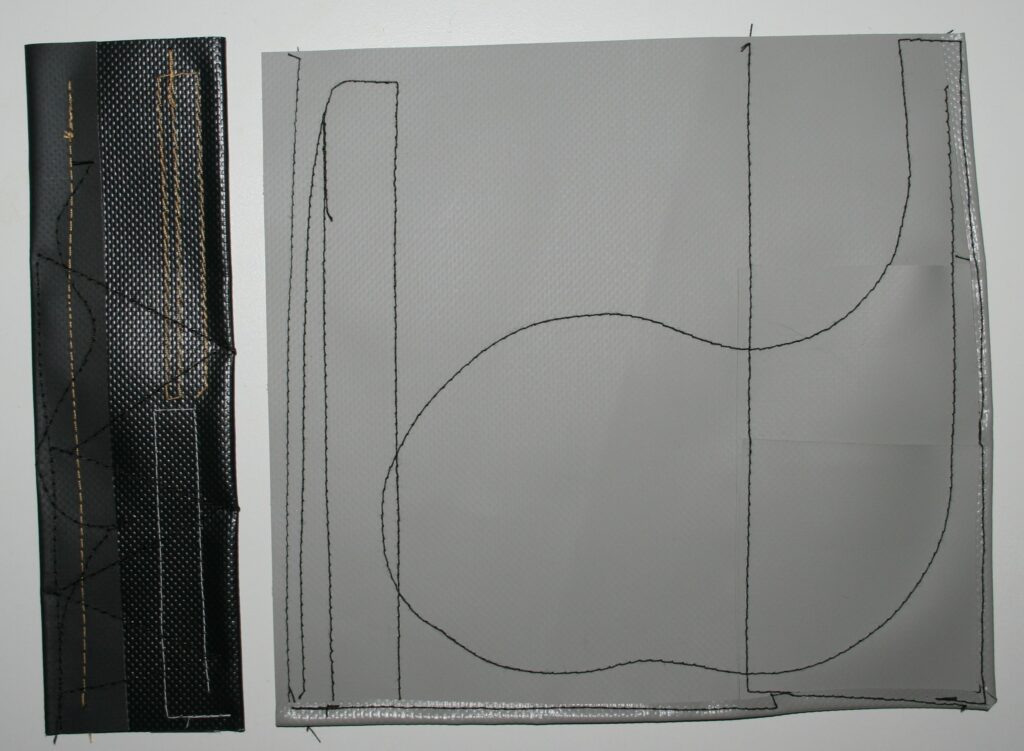
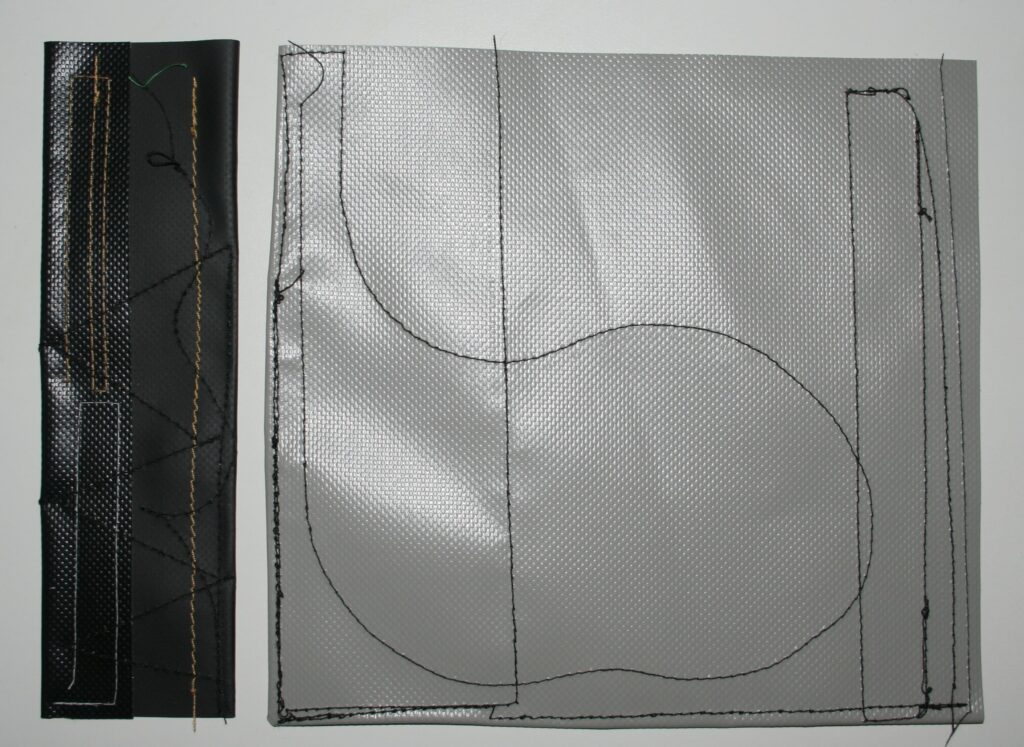
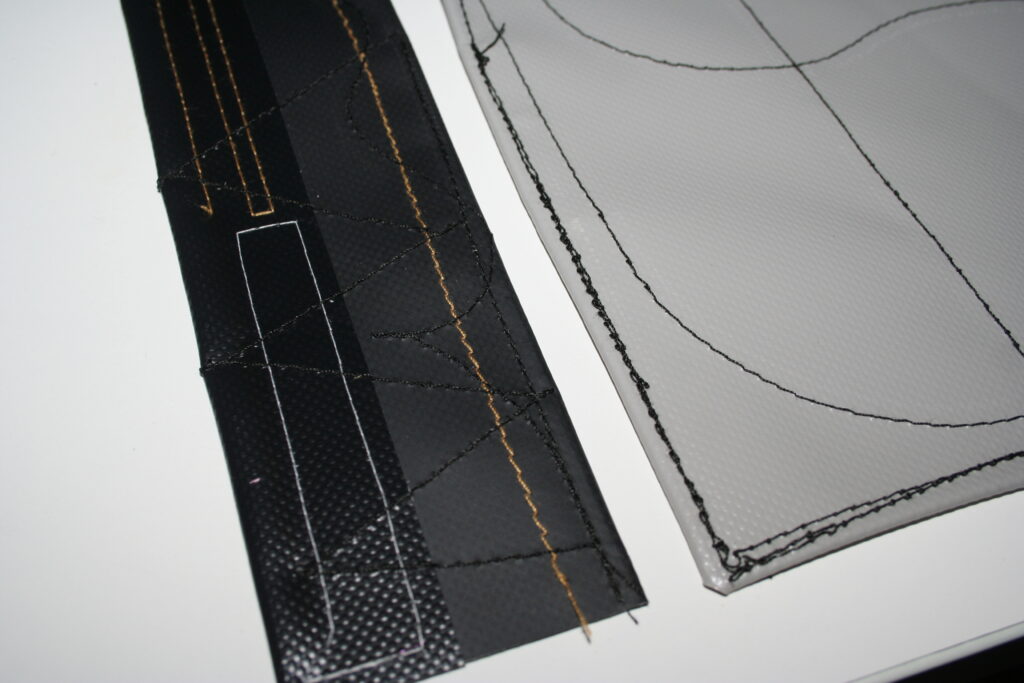
I would say the stitching done by the industrial machine is overall better than when I used the denim thread in my Singer Heavy duty (yellow stitching on black tarp). Perhaps I just need a thicker needle when I want to use denim thread to sew tarp with my Singer, but I think instead I’ll just use the industrial machine to sew tarp.
To finish the edges I folded over a little bit of the tarp and then stitched over it using the industrial machine, but the tarp has a tendency to want to ‘bend back’, which I think is causing the tension issues during sewing (I already tinkered a bit with the tension on the spool case hoping that would fix it). This makes me think that this kind of edge finish is not going to work for tarp, or perhaps I can iron the tarp to flatten it?
An alternative edge finish would be to just stitch two or three layers of tarp together with the ‘raw’ edges being exposed. The stuff doesn’t fray so the edge finish is just a cosmetic concern.
I for sure want to reinforce the organiser as the tarp itself is fairly floppy. For this, I am considering using some plastic sheet bits that make up the cover of some of my old note books from when I was still in school. Alternatively, I could use several layers of laminator sheets or even laminated (thin) card as this is quite sturdy. However, this can be fairly sharp at the edges and as it would push against the stitching, I worry the stitching might be damaged/cut. Using thicker plastic as reinforcement would allow me to smoothen any sharp edges before inserting it between the tarp layers, so I think I will try this first.
The tarp isn’t cheap so I haven’t ordered more than these two sample pieces yet, but I think I will very soon as I do want to get started making my organiser.
I better figure this all out in the next few weeks as my sewing course ends just before the holidays after which I no longer have access to the industrial sewing machine!
One comment