The first tutorial will be a simple project: turning an old jumper into a grocery bag! Note that my phone camera isn’t great, so until I have upgraded, you will have to make do with these potato-quality photos. Sorry!
For this project you will need:
* a jumper with set in sleeves
* sewing machine thread
* a sewing machine (a lightweight domestic sewing machine will do)
* pins or clips to hold fabric together (optional)
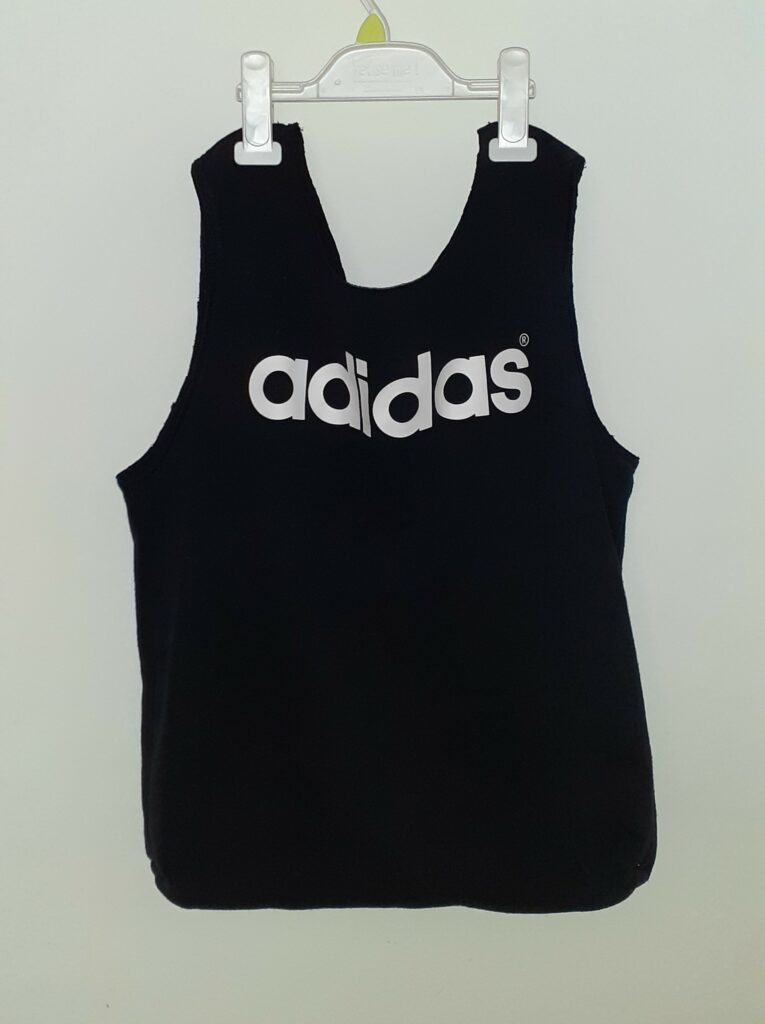
I am using an Adidas jumper that I bought for a few Pounds at a charity (thrift) shop. For the thread I used thicker sewing thread (that can still be used in a domestic sewing machine) hoping it will be extra sturdy compared to the standard, thinner thread. Since my early days of sewing I realised that the quality of your thread really matters and I have stuck to Gutermann thread for all my machine sewing projects (note that I use different thread when I used my serger/overlocker; we do not need such a machine for the current project). You will also need fabric scissors, and some pins or clips, although not required, come in handy.
A tip on scissors: it is worth it to get a decent pair of fabric scissors and I found that ones in the price range of around £15-25 are pretty good. I don’t have experience with more expensive ones, so who knows what I am missing out on! If you invest in fabric scissors, ensure that you only cut fabrics and threads with them and nothing else! Do not use them to cut paper, plastic, leather, tape etc as you will ruin them! I have a little ribbon tied around each of my fabric scissors so I can easily identify them to avoid using them for other hobbies. I use a sort of ‘standard’ machine needle of medium thickness, one that I use for basically all my project. Nothing too thin, and not of a type specific for any material, so just a good all-rounder.
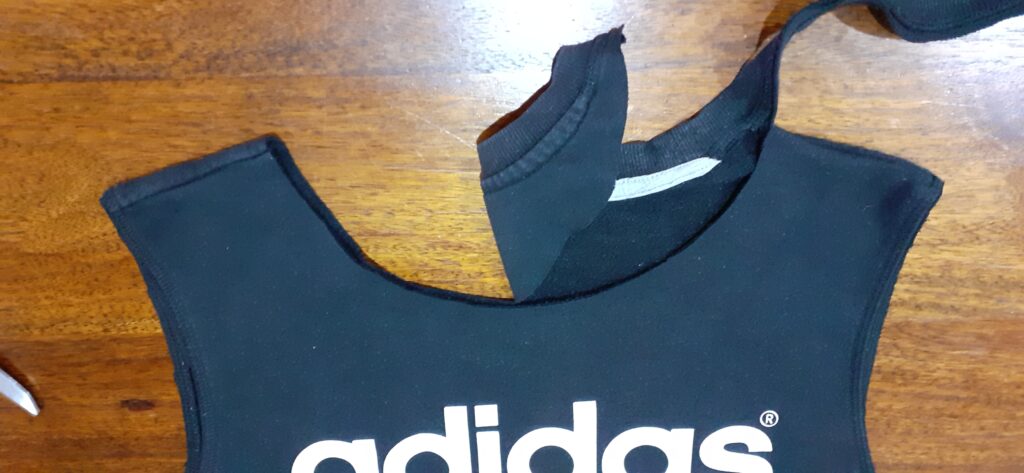
Let’s get started! First, cut the sleeves off of your jumper as you do not need them. I cut on the ‘outside’ of the seam, leaving the seam attached to the jumper for additional strength in the final product. Then, cut off the neck band: this time I did cut off the seam. Note that the neckline is deeper on the front than the back so I cut the front first and then used this as a guide to cut off the back (cutting off not only the neck band but also some of the jumper itself):
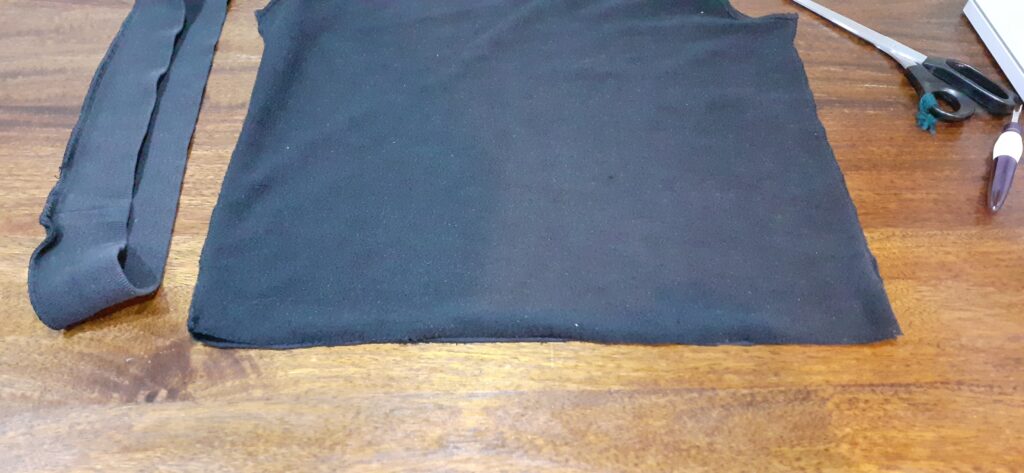
Also cut off the hem band at the bottom (ensure you also cut off the seam, meaning you cut through the jumper and not the band). I initially kept the band in case I needed it but in the end, I did not use it:
Now it is time to start sewing. I used the following stitch on my machine (I have a Singer Heavy Duty 5523):

It is fine if your machine is a lighter weight domestic machine that does not have such a stitch as you can use a slight zigzag stitch instead. Turn your jumper inside out and stitch about 1 cm alongside the bottom edge to close up the bottom of your jumper. Use a zigzag stitch to finish this seam.
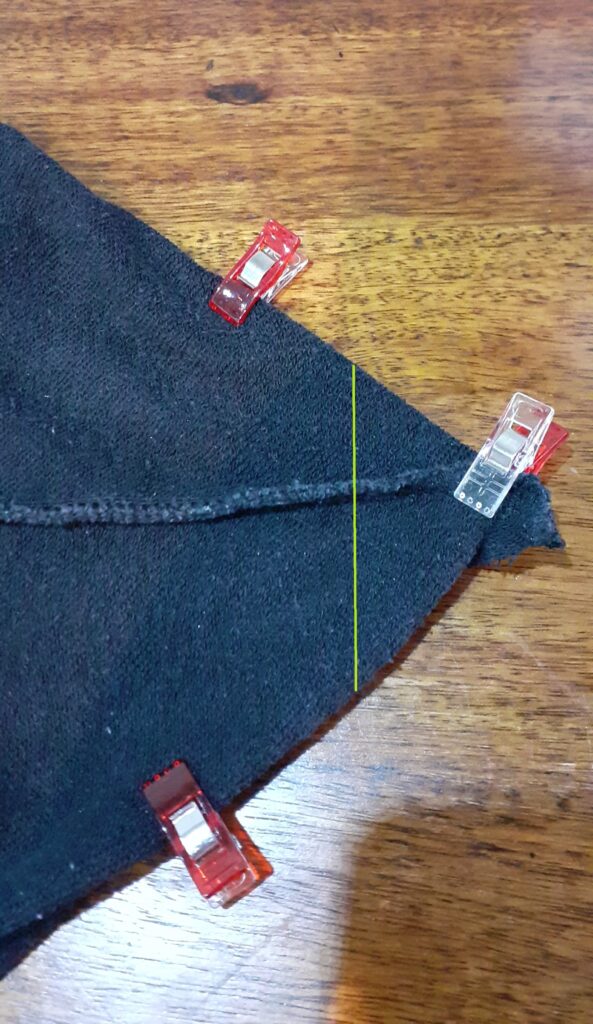
Now you are ready to create ‘depth’ to the base of the bag. To do this, place the bottom seam you’ve just created flat on your desk and fold the rest of the bag over it to one side in a symmetrical way so that the side seam folds over the bottom seam (I used clips to hold this all in place but you can also use pins, or omit this and just go for it, this project isn’t an exact science!). You need to stitch perpendicular to these seams for a length of 5-10 cm depending on how ‘deep’ you want the base to be (along the yellow line). Repeat this step for the other corner of the base:
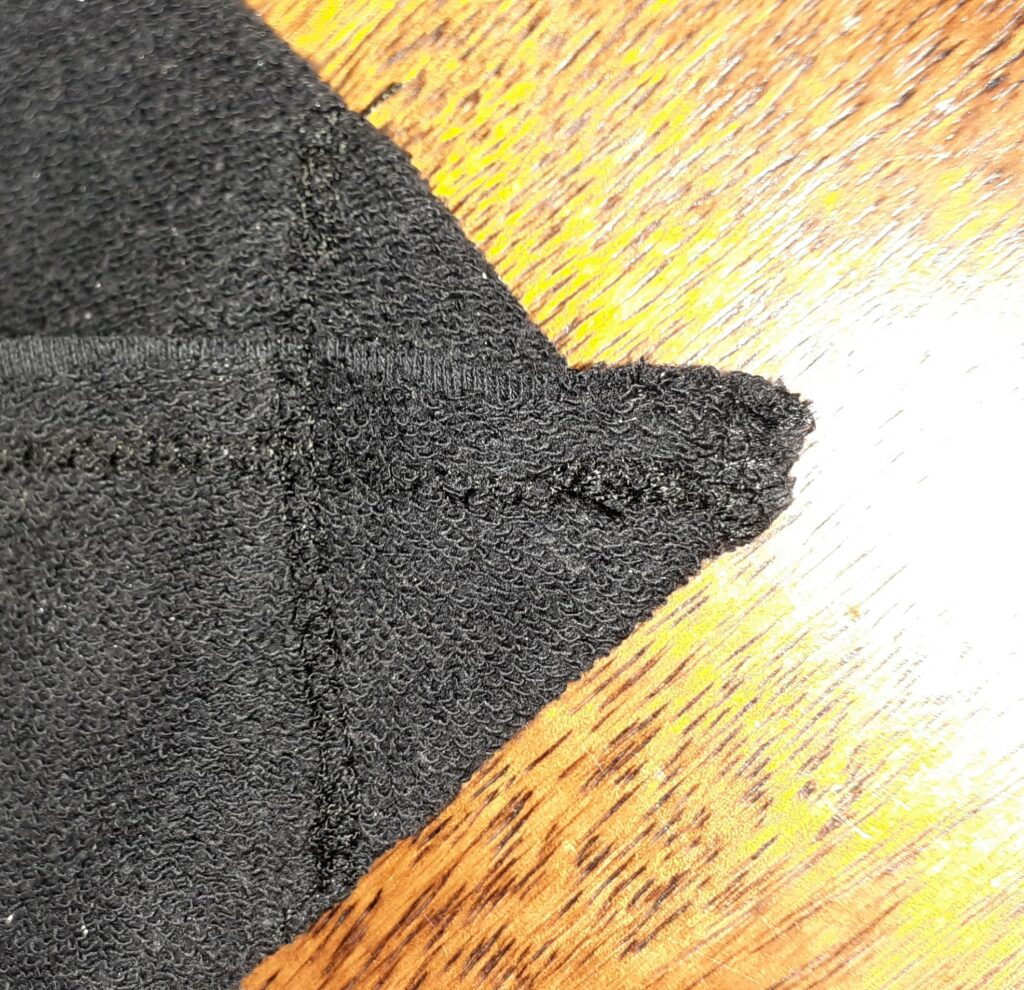
Then fold the bag such that you have the outside on the outside, and you will see that the bottom corners will look like this:

Finally, to reinforce the seam on what used to be the shoulder (because we cut through this seam and want to prevent it from coming undone), use a zigzag stitch with a short length to sew over the seam near to where the neckline used to be:

And now your bag is done! This is a super easy project and great fun to get into sewing your own bags. What I love about this project is that you can use any old jumper (or T-shirt!) that you or your kids may have grown out of, or perhaps you have a jumper where the sleeves are worn out, damaged, or stained but the rest is still good. Upcycling it into another item means you will extend the life of your garment and also that you do not need to buy another shopping bag!
Note that I used a jumper with a set in sleeve. You could use a jumper with a raglan sleeve but the bag handles will stretch out a little more as they will not have the armhole seem to reinforce them. Secondly, this project becomes quite tricky when you use knitted materials as they will fray/come undone much more easily and might be harder to stitch together nicely. For this reason I would recommend using a woven material typically used for sports jumpers and T-shirts :).

One comment