A couple of months ago I designed a pair of active wear/street wear trousers and decided to make them from scratch. I’ve worked on it for a couple of hours here and there over the past two months and they are finally done!
This won’t be a tutorial as there’s too many steps to include, but I will describe the process globally.
Firstly, I drew the design on paper. I wanted a pair of loose-fitting trousers with pockets and an elasticated waist to fit me. My lower body is about 2 UK sizes larger than my upper body, so I would have to draw a trousers pattern from scratch.
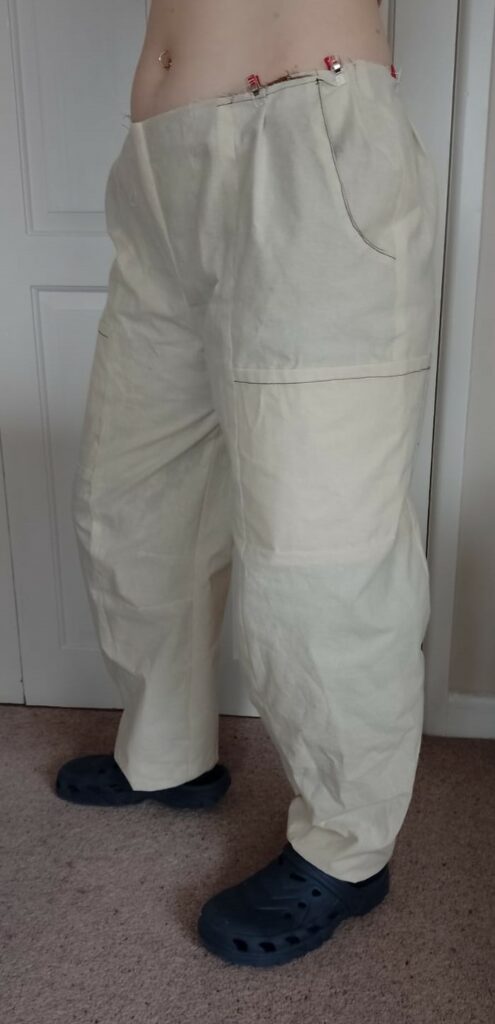
I created a ‘master pattern for trousers’ as described in Reader’s Digest’s Complete Guide to Sewing (first edition, 1978). To save on fabric, I only made shorts as I knew the trickiest part was getting the pant to fit around the bum and groin area. I used some fabric I had lying around forever (a medium-weight, non-stretch fabric):
I made minor alterations as needed for this master pattern to fit me well. I then used this pattern to create the pattern for my active wear trousers. I made the following changes to the master pattern:
- My trousers would have to slide over my bum as I didn’t want to have a fly, meaning I would have to make the waist a lot wider to accommodate my bum.
- I wanted a wide/loose leg so I made the legs a lot wider along most of the length, to taper in a little towards the ankle.
- I added pockets to the front.
- I made the legs out of three panels for the lower half of the leg and added a pocket to the side of each leg.
- I fused the top back piece into one piece and added two pieces for the seat/inseam.
- I added knee darts to create some extra room in the knee area for when I’d have to bend my knees.
- I added a small gusset to the groin for more freedom of movement.
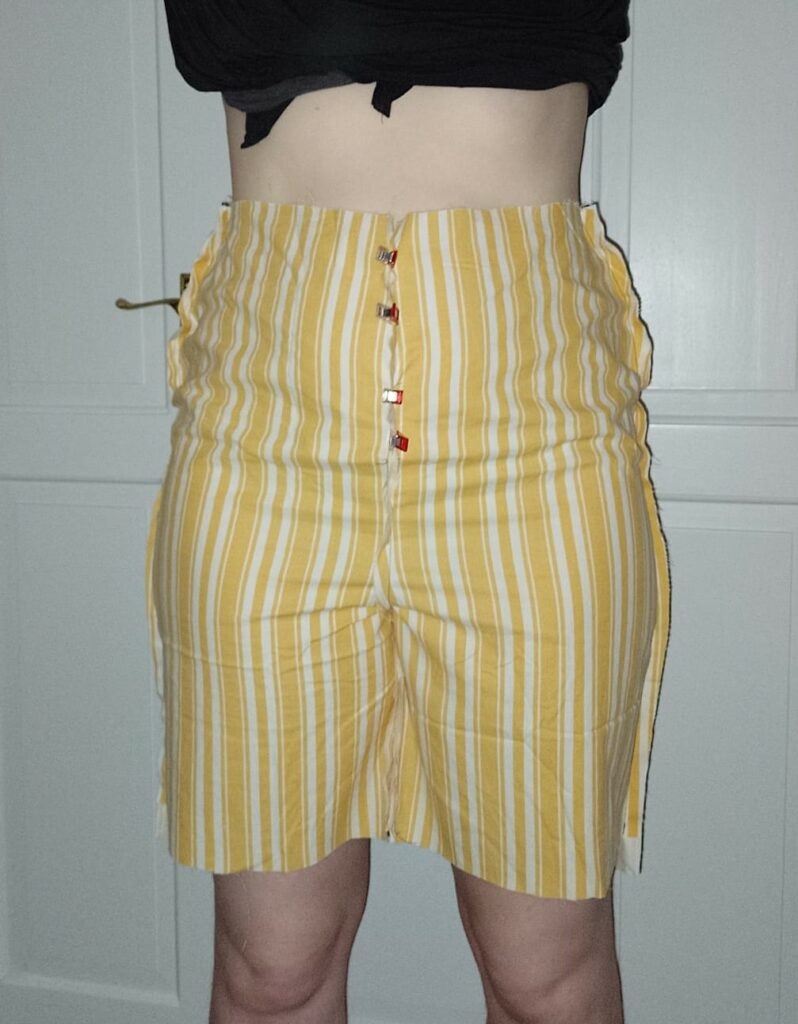
I used medium-weight calico to create a toile. I used some scraps of lining fabric for the inside of the front pockets. I used clips to hold it all together at the waist:
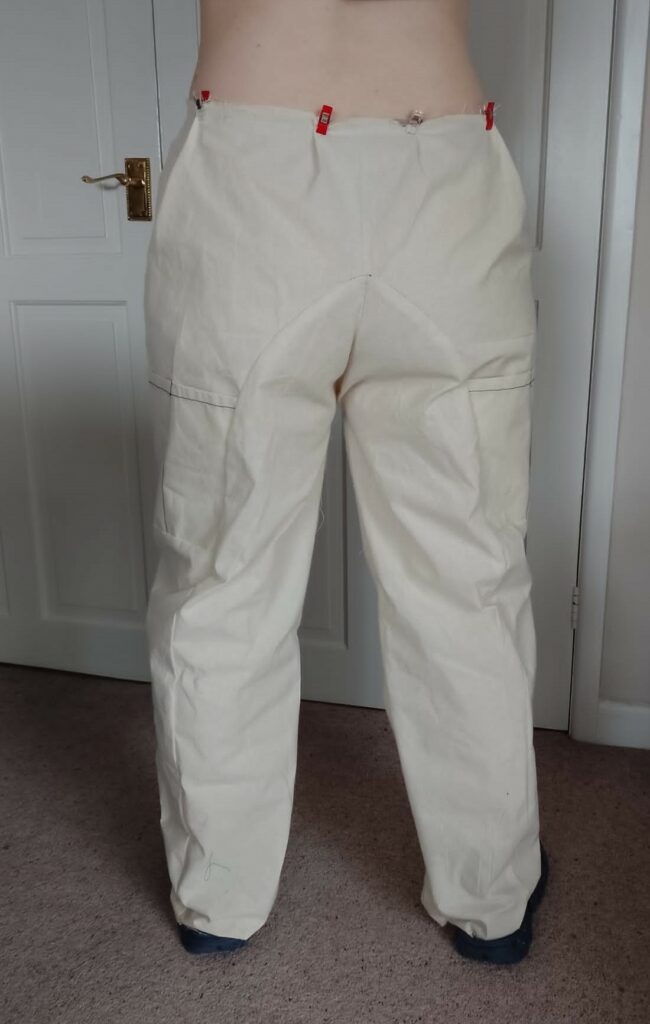
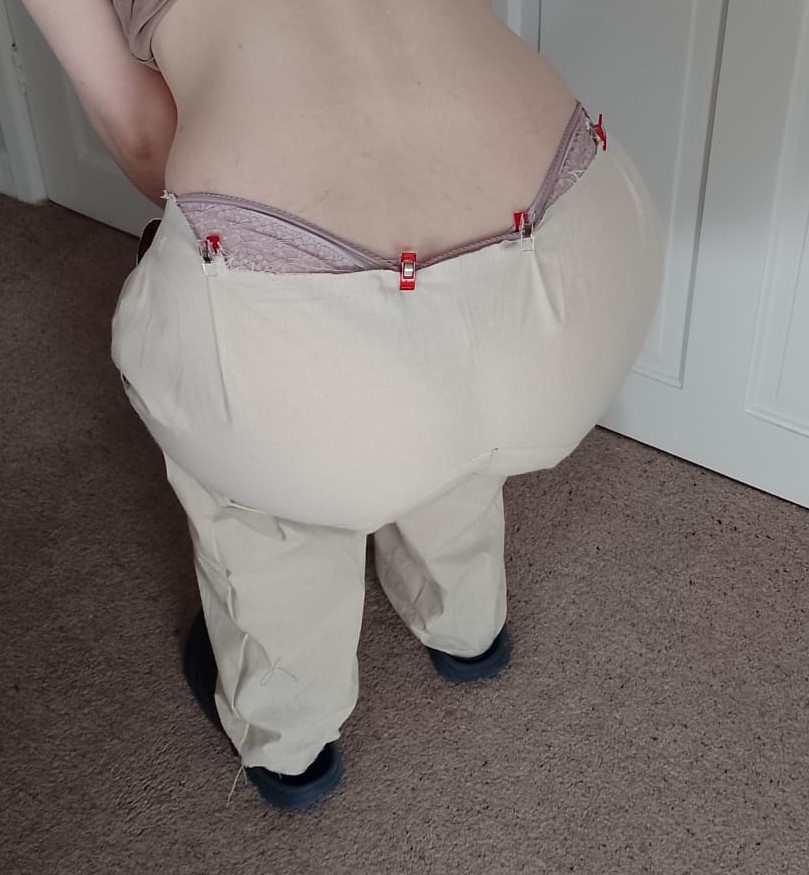
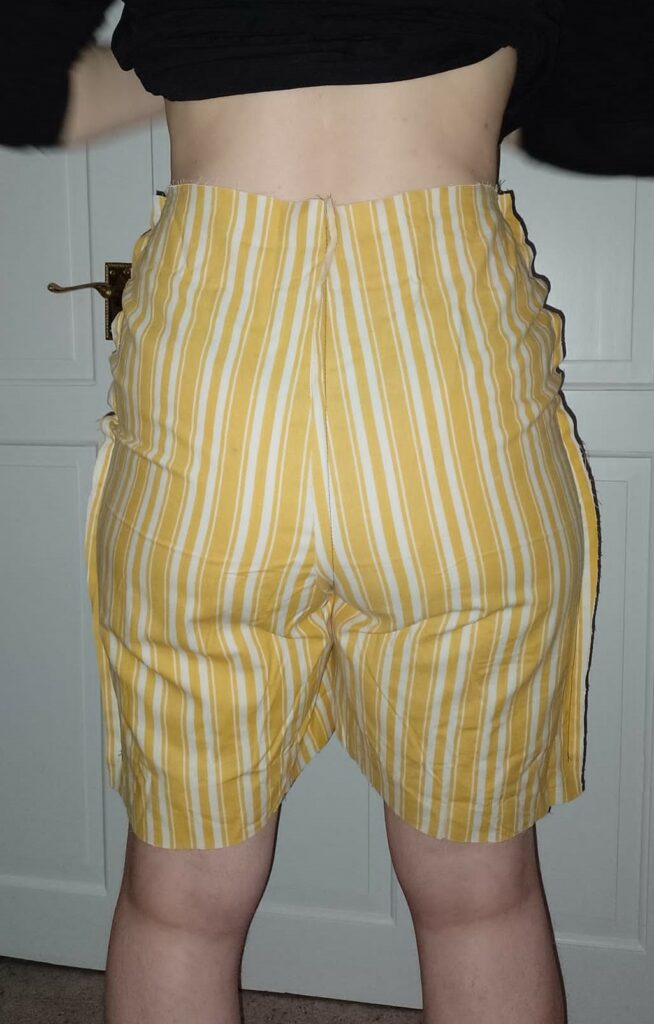
As you can see in the photo above, I needed more length in the seam through the groin at the back as I didn’t want to risk having builder’s cleavage. I took out the central back panel and made changes to it. I found that it was better to use two pieces as opposed to the one to create the extra space (note: I added elastic to the sides):
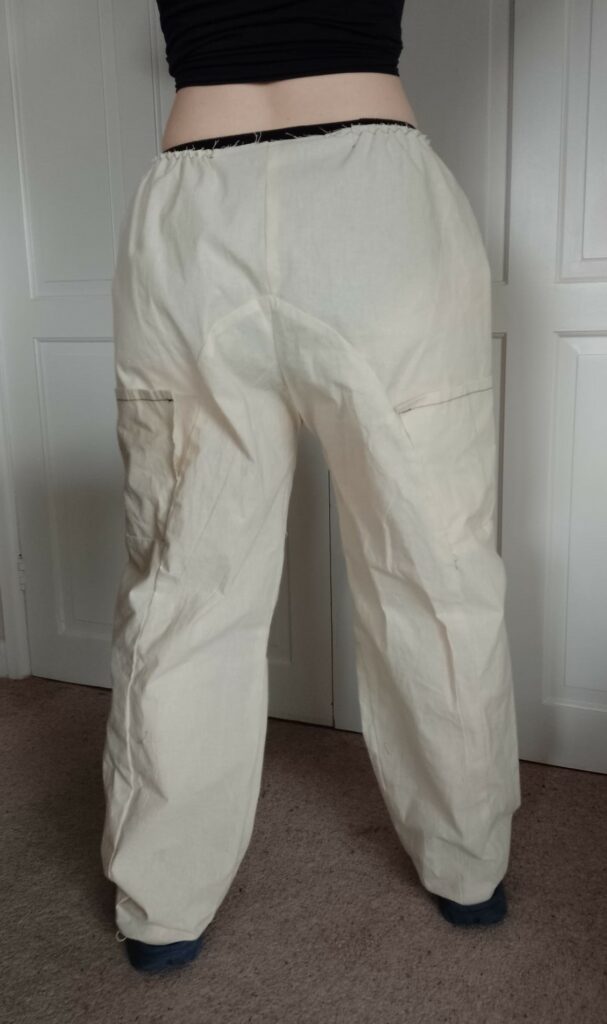

You can see that the side pockets would need to be a little wider to continue onto the seam, and the back looked a little better although it still pulled when crouching.
I was too impatient to make another toile and thought that adding a waist band would help raise the back waist a little, so I went ahead with the pattern I had created and made the trousers!
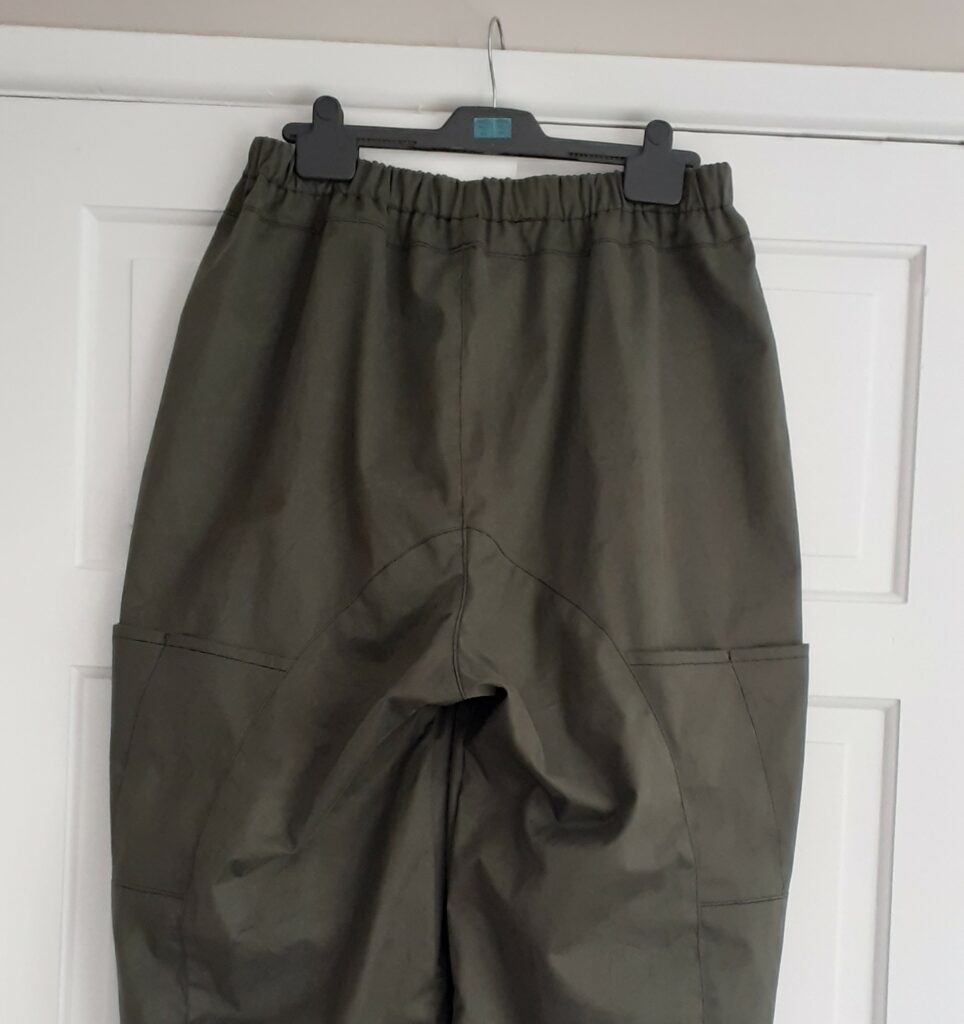
I have a lot of fabric in my stash but only had enough fabric for these trousers in one kind of fabric. I bought it years ago and don’t really know what the fibre composition is. It feels a little lighter than something like denim, there’s no stretch to it, and it feels like there’s some kind of coating on/in it. It may not be the perfect fabric choice but the colour is lovely and the weight sufficient for trousers.
I used thin black fabric for the pockets at the top, standard thread in the same colour as the fabric for the seams and to finish the seams with a zig-zag stitch. I used Gutermann denim thread for the top stitching. I had the ambition to make more advanced seams for these trousers but I am not that skilled with those seams so went ahead with the simplest solution: a plain seam that’s ironed to one side and top stitched. Here is the final result:

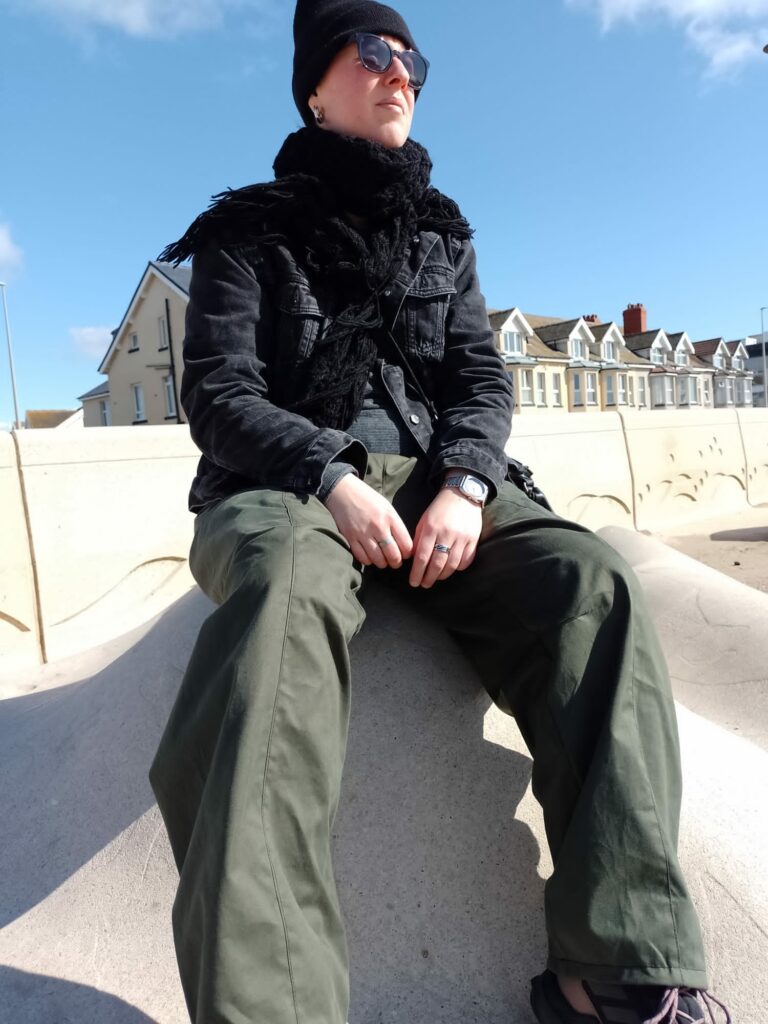
I found out that there must be some kind of coating or special something about this fabric as it seems to be wind breaking! It got a little toasty in there, but not bad for those windy days at the coast.
Overall I am quite happy! The shape/model is very comfortable, the pockets are great, and I really love the colour of this fabric combined with the black top stitching. I will make another pair in a different fabric soon.
There’s room for improvement, of course. I made the waist wider than needed as I had widened the whole standard trouser pattern for this design and on top of that widened the waist to accommodate my bum (as I didn’t want to have a fly): I think I will take a little bit out of the waist for a next design as it would then still fit over my bum. I could also have lined the side pockets as the lining fabric I used for the front pockets is quite thin anyways so wouldn’t create much bulk and it might make the trousers feel more luxurious/sturdy.
In the end I really love the result and can’t wait to make another one!