In 2019 I bought some silver precious metal clay. This is silver particles combined with a binder to create a kind of clay/paste. You can also get it in gold, copper, and perhaps other metals too. It’s fairly easy to work with this silver clay as you don’t need a lot of tools. However, the clay itself is expensive, so you want to do some research on how to use it before getting started.
As the first thing, I wanted to make a pendant. I hadn’t appreciated how hard it would be to make a bezel for a stone and take into consideration the shrinking factor of this clay whilst it dries out and from torching. I ended up having to grind my moss agate stone to fit my super thick bezel. It was impossible to burnish the edge of the bezel inwards to trap the stone, I was only able to force a dent in it, but it’s enough to trap the stone.
Design:
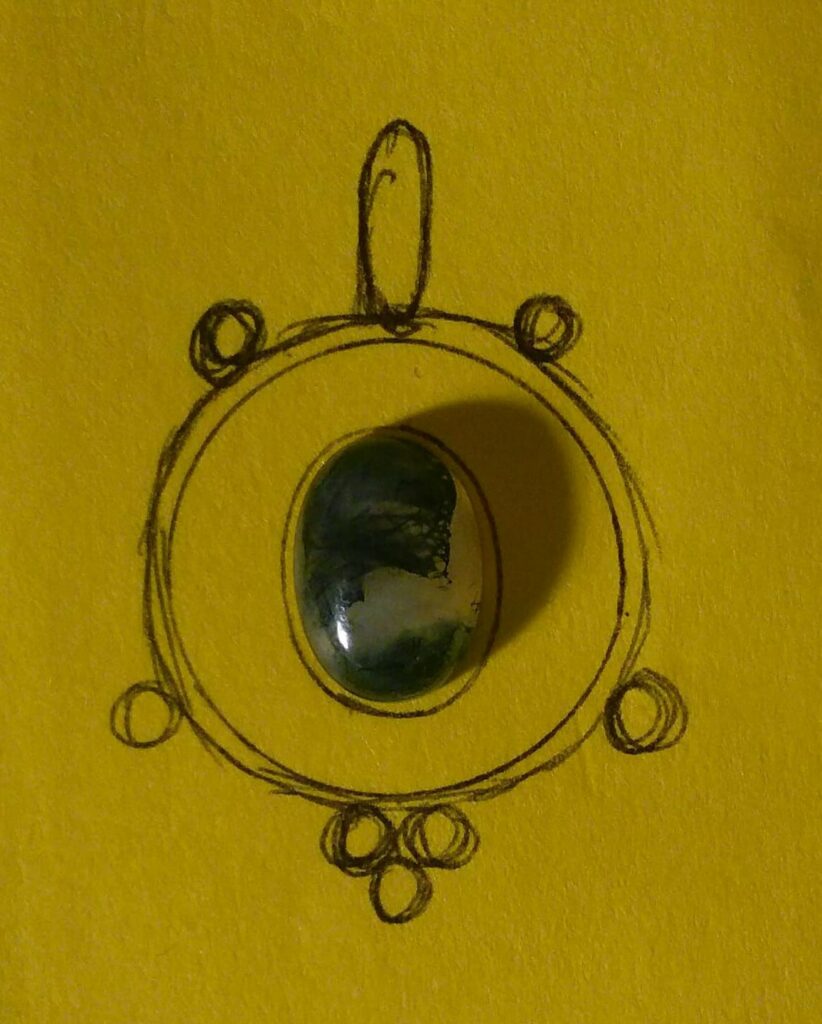
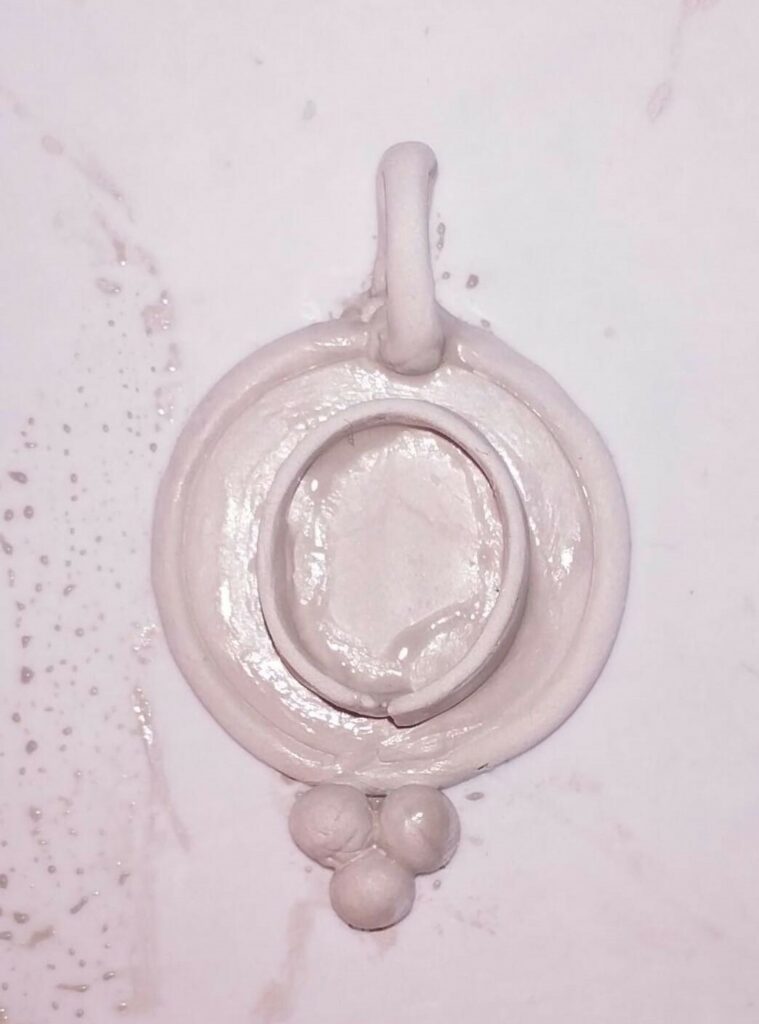
Silver clay pendant (I struggled with the small ‘beads’ so didn’t do all of them):
After torching:
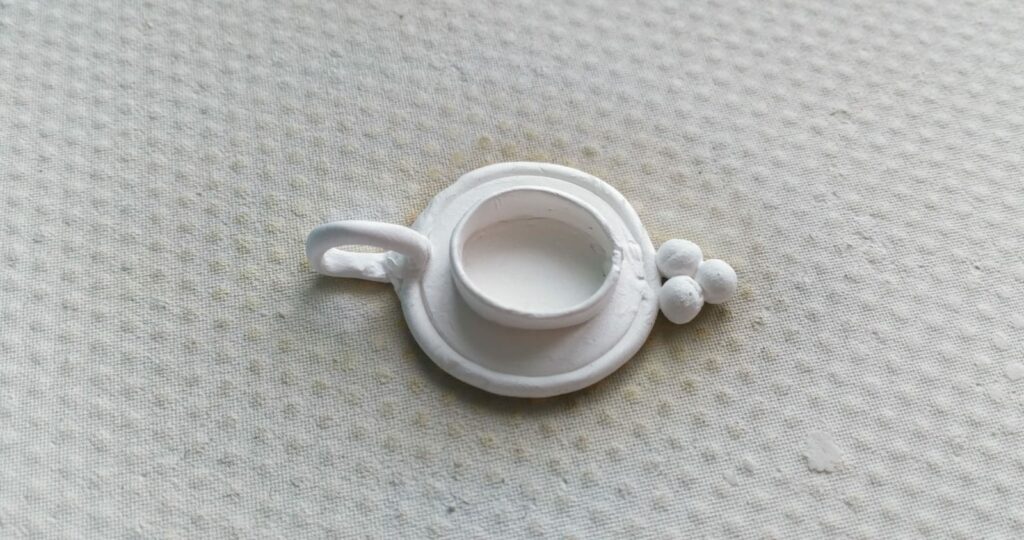
After brushing with a steel brush:

After burnishing (to get a mirror finish) and trapping in the moss agate (sadly, I lost the three little beads, they broke off):
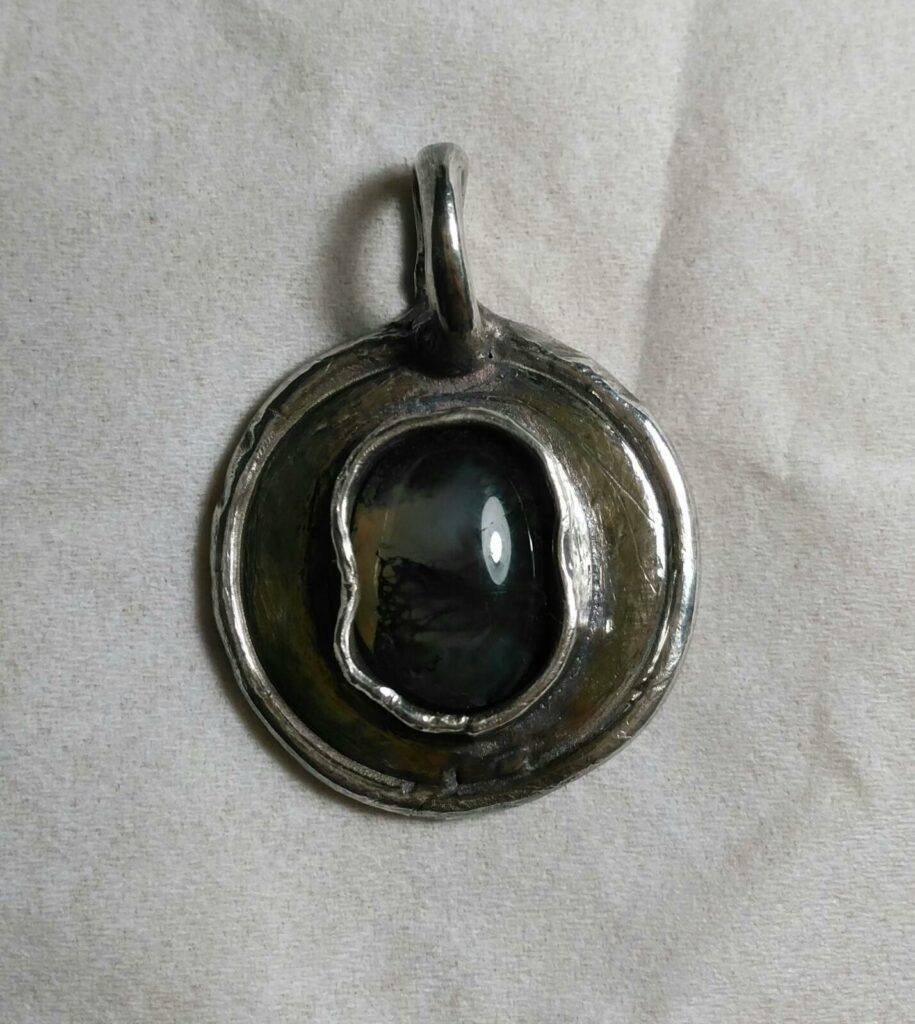
The pendant didn’t turn out as nicely as I imaged but considering this is the first time making any kind of metal jewellery, I think it’s not too bad.
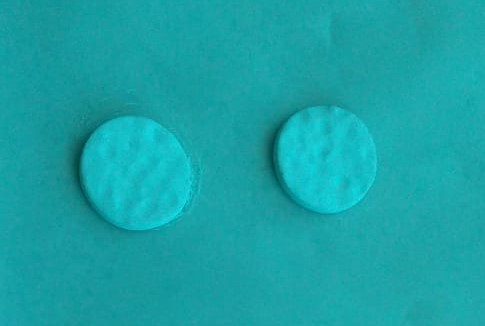
Soon after making this pendant I decided to make a smaller pendant and matching ear rings to fit my stretched earlobes (at 8 mm). I bought two pieces of solid sterling silver rod that the seller cut to around 12 mm length for me. These would serve as the ‘posts’ to go into my ear lobes. I used clay to make three discs in which I pushed differently sized round tool ends to create ‘craters’ so the discs would end up looking like moons (the blue hue is from having blue curtains in the window):

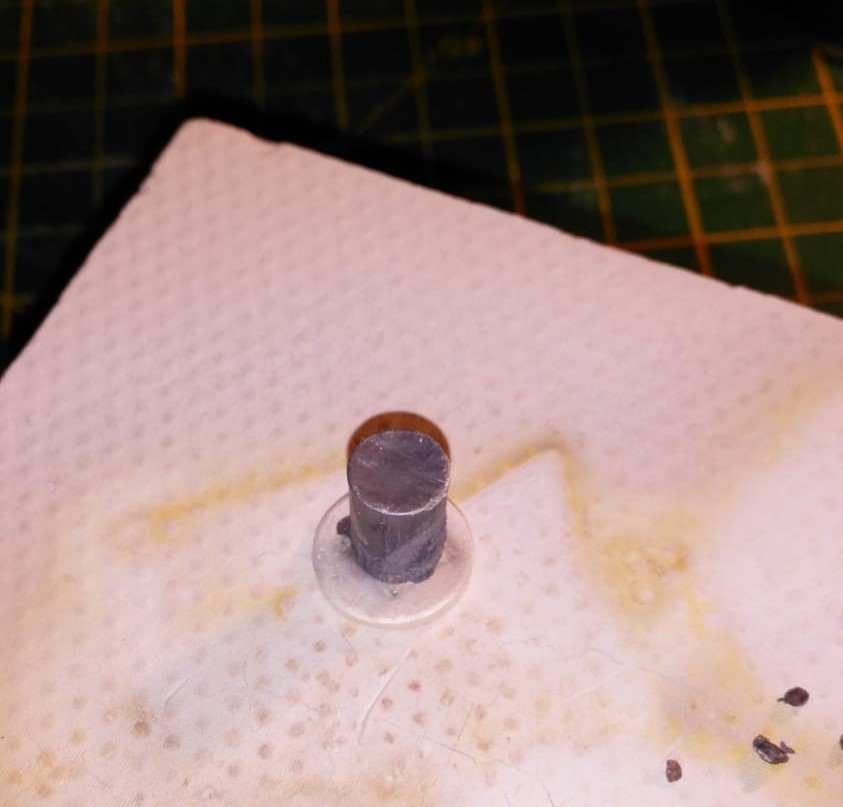
After torching the discs, I attached the ‘posts’, I think I used a sludge made from leftover bits of the silver clay. I deliberately put the post off centre as I thought it would look nice for the moon to hang a little lower on/past my ear lobe. I don’t think it worked because the discs are quite small and light weight so they can sit inside my earlobe ‘wrong’ without rotating to the right positioning. It was scary to torch the posts on because I got close to melting them.
After brushing, burnishing, and adding liver of sulphur patina:

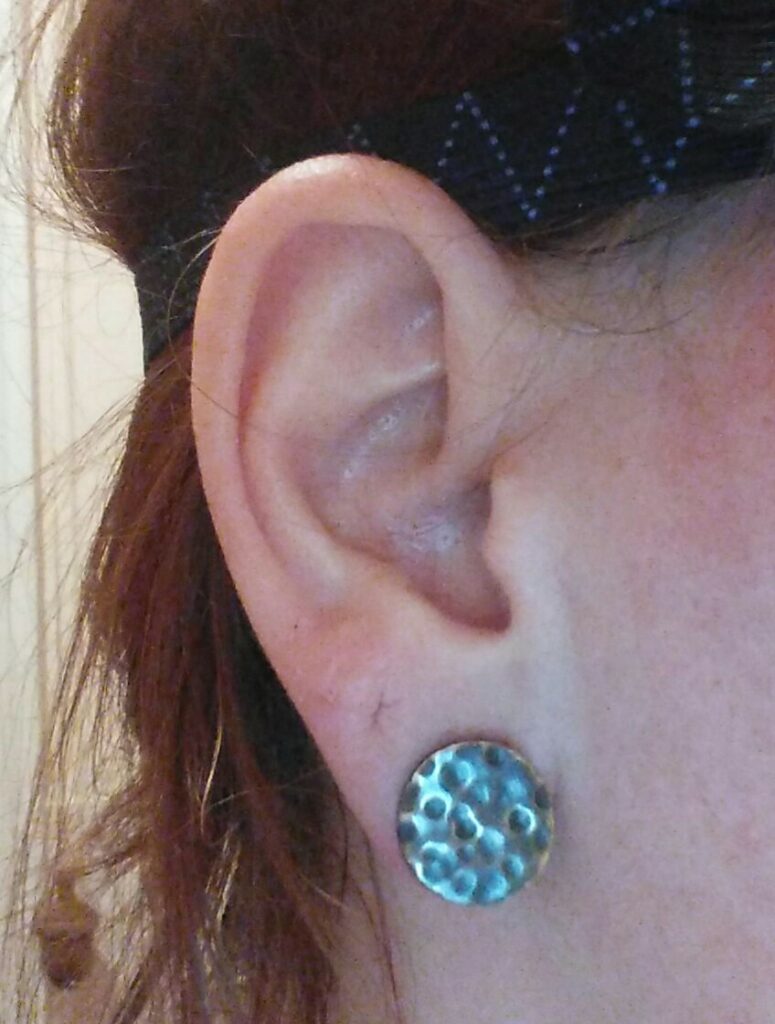
I used a silver polish cloth to make the pieces look a little less dark, and here is what the ear ring looks like (the strap is from wearing safety goggles). Note that the ear rings stay in place with a black O-ring pushed onto the back of the post:
I have made a couple more items around the same time I made these pieces, such as some pendants for family members using putty to make casts of flowers as well as a few other things.
At the moment I have made and dried two ear weights made from copper clay but I have not yet torched these (copper clay requires a higher temperature than silver clay). I will update if/when I get to finishing these.