One thing I learned the existence of through reading Reader’s Digest ‘Complete Guide to Sewing’ is a tailor’s ham. It is a tool to help press curved seams so you can press such a seam without flattening the garment. This book also has a tutorial on how to make a tailor’s ham yourself!
You will need:
- light weight to medium weight fabric for the outside (something that doesn’t stretch and can be ironed at high temperatures; I think I used a kind of cotton, but I am not sure)
- fabric for the underlayer and filling (something that doesn’t stretch and can be ironed at high temperatures; I used unbleached cotton and some calico scraps)
- thread
- pins or clips
- fabric scissors
- a sewing machine (a basic domestic machine will do)
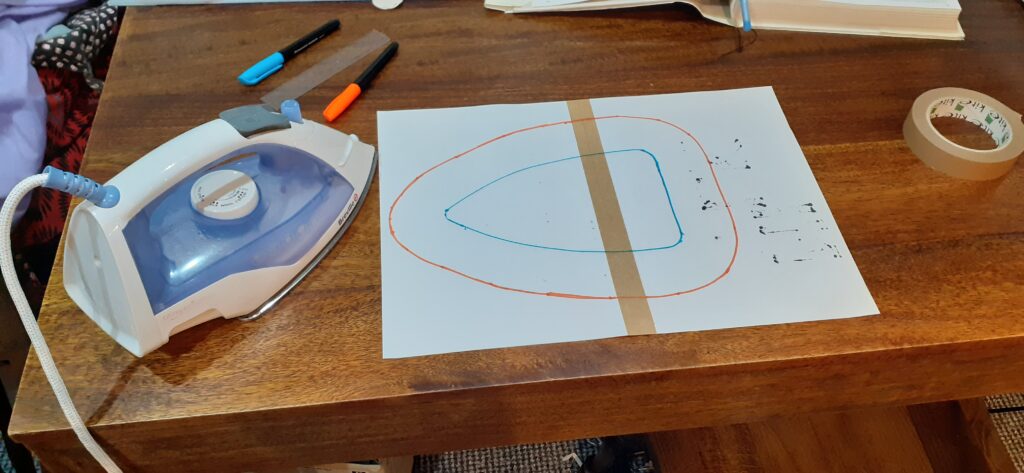
Trace the base of your iron (blue line in photo) and then draw a line around 5 cm from the trace of your iron (orange line) (I did this on two a4 sheets taped together):
Cut the paper along the orange line and cut this shape out of your fabric four times (with 1 cm seam allowance): twice in the outer fabric, twice for the underlayer (note that the underlayer is probably optional, but I felt I wanted something sturdy because the filling will be stuffed in tightly):
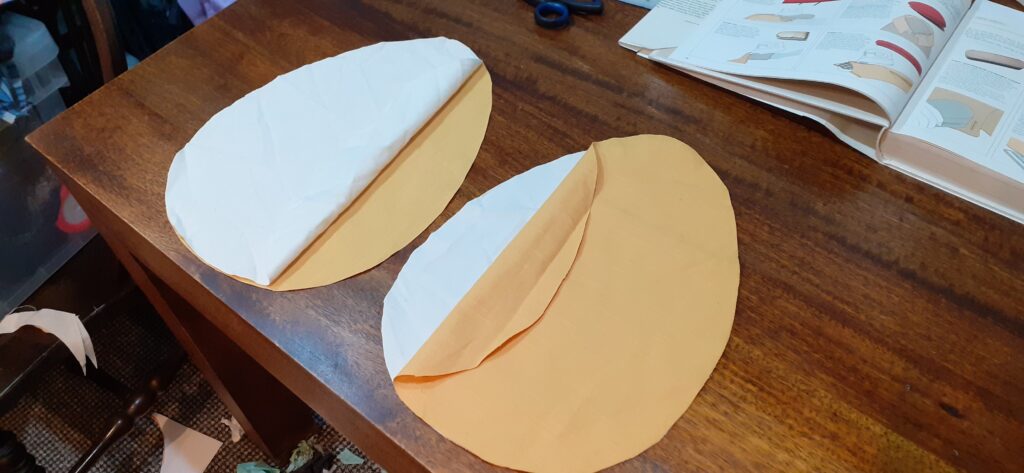
I used my serger (a zig-zag stitch on a regular machine is fine too) to attach the two sides for each side of the ham to each other along the larger end for most of that length:
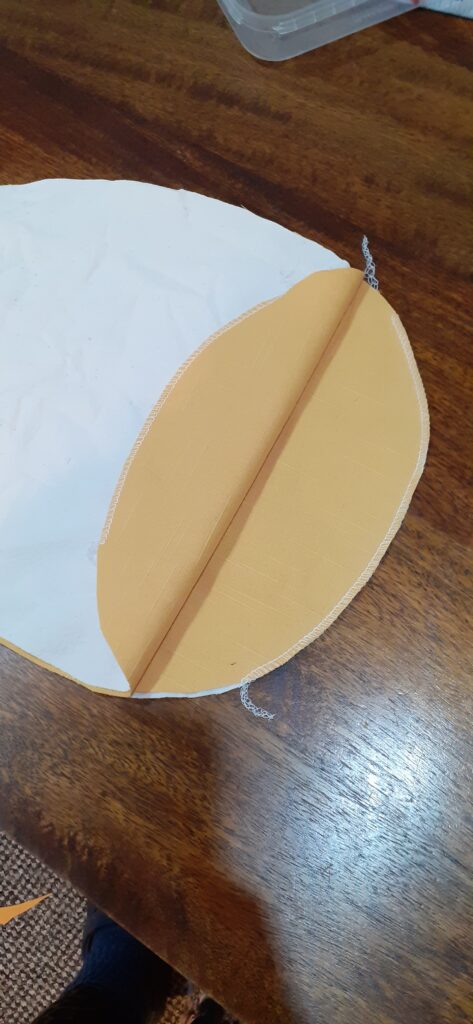
I then stitched all four layers together using a straight stitch on my sewing machine, stitching 1 cm from the edge, leaving open the underside of the ham that was finished with the serger. I then finished this seam with the serger, still leaving open the underside. I turned the ham so the outside is on the outside:
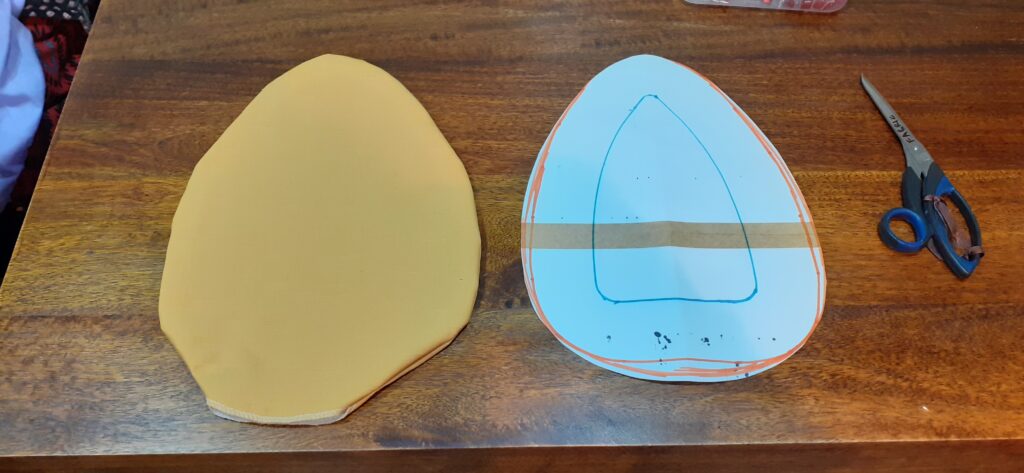
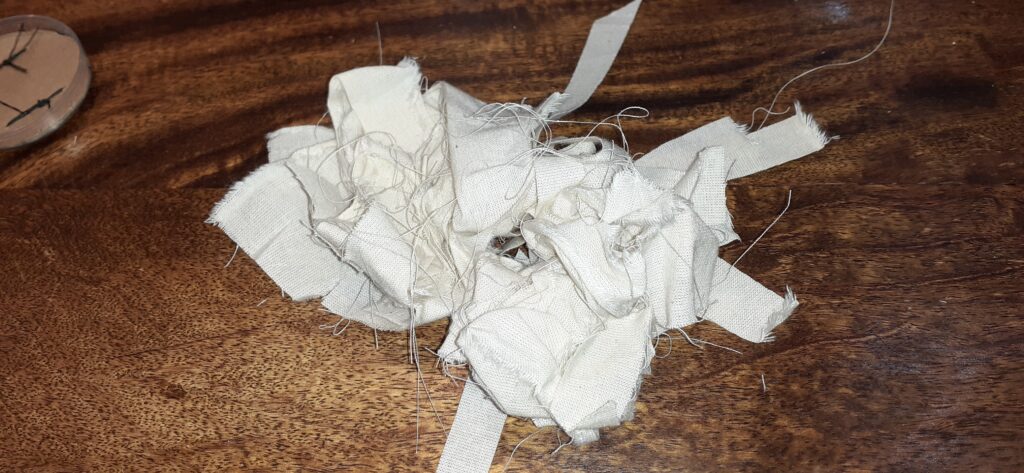
You can see that the shape isn’t perfect, this is because the seam wasn’t fully ‘pushed out’. I used strips cut from cotton for the filling. Note that I washed the cotton after having cut the strips, which was a bad idea as the fraying clumped the pieces together during laundry (this was a nightmare to untangle when wet, possibly less bad if I had waited for it all to dry). If you want to wash fabric, do it before you cut it! This is a small portion of the filling:
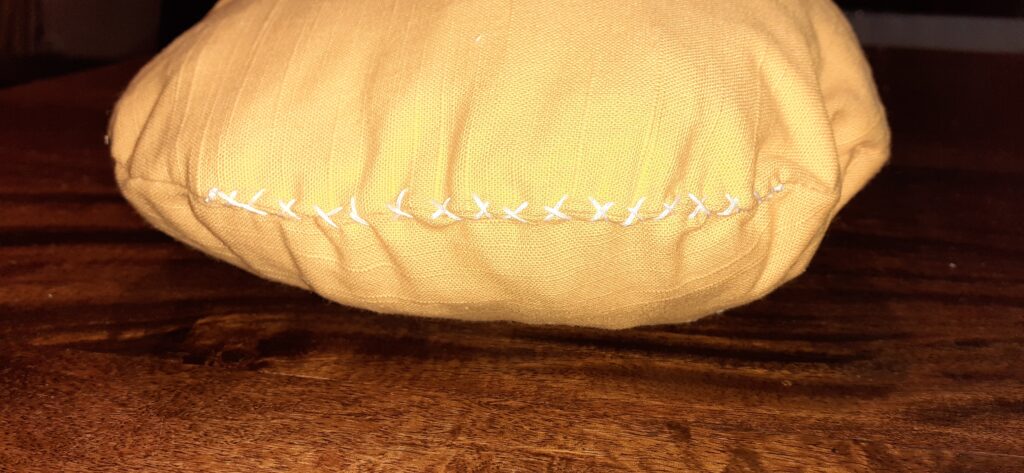
After stuffing the ham I used a course hand stitch to close the opening (I stitched once in one direction to close the entire opening, and I then stitched in the reverse direction):
And here’s my beautiful ham from the top:
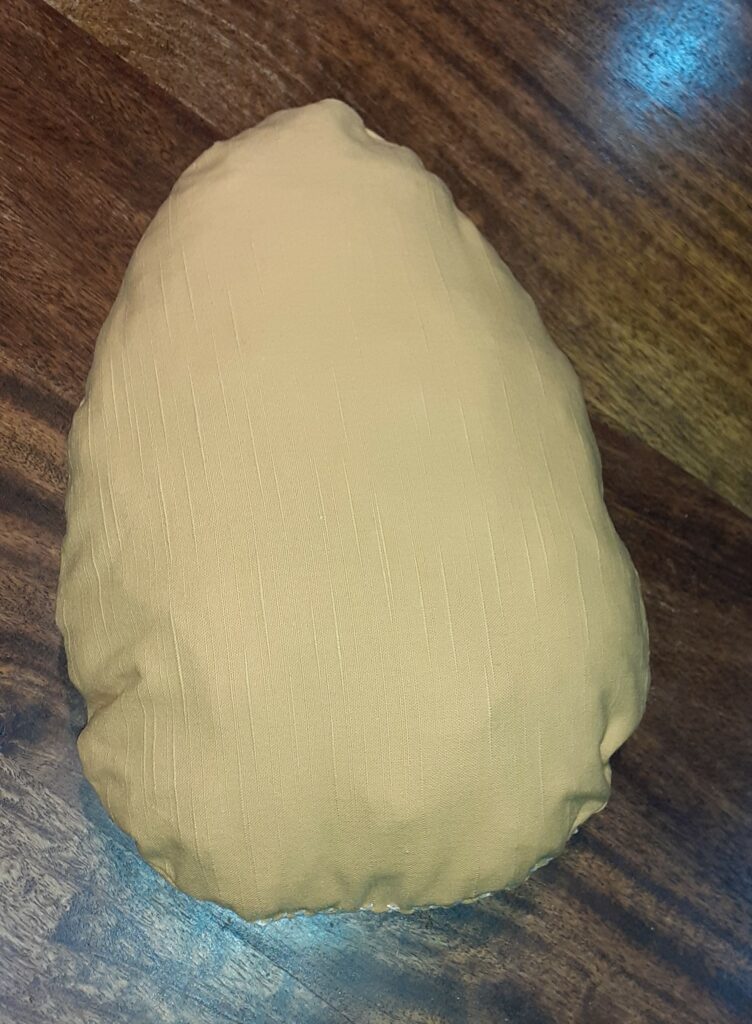
I don’t know the composition of this yellow fabric but I think it is cotton. This fabric comes from a stash that came to me, I think it may have come from my mother so who knows how old it is! I washed the fabric and hope it will withstand higher temperatures so I can use the ham to iron any garment.
Online sources recommend using wool for the outside of the ham. I did come to have some black wool after I had already done most of the work on this ham. I wasn’t sure whether the black would rub off and was unsure on how to launder the wool. So, for now I will just use this cotton (?) ham. I can always make a new one using the black wool, if I feel I need it.