Update: You can see this notebook in my video on YouTube.
I came across the “traveler’s notebook” style notebooks online recently. They seem very convenient for a number of reasons, mainly their modularity.
Such a traveler’s notebook (TN) consists of an outer cover/shell, often made from thick leather, which is filled with individual notebooks that are either stitched or stapled, so each of these notebooks have one inside ‘centre’. The cover has several (elasticated) cords that will each go through the centre of one notebook to hold the notebooks together in the cover.
Such a modular system allows you to have one lined notebook for notes, a blank paper notebook for sketches, a grid notebook for yet another application, etc. When one notebook is full, you simply remove it and put another in, leaving in place the other notebooks that are not yet full. This is a huge advantage over permanently-bound notebooks with separate sections because usually you’ll fill up one or two sections more quickly than others. At that point you need to decide to either get a whole new notebook leaving several sections in the old one half-used, or spilling over into a lesser-used section with the content type of the populous section, kind of defeating the point of having separate sections. Alternatively, you can carry several separate notebooks with you, but who wants to do that?!
I thought I’d try my hand at making a TN myself using small pieces of leather that I was given by I’m not sure whom! This is a while ago, so all I remember is that I didn’t pay for it ;).
In this blog post I will show you how I made my first TN. Note that this is version 1, and that I haven’t really worked with leather before. So, mistakes were made, and the result is still kind of amateurish. But you have to start somewhere!
I made some sketches in my Deskfax (top left). I used a standard hobby knife, an aluminum ruler, and a cutting mat. I used “A6” sized notebooks I bought online. They are 141 mm x 106 mm in size:
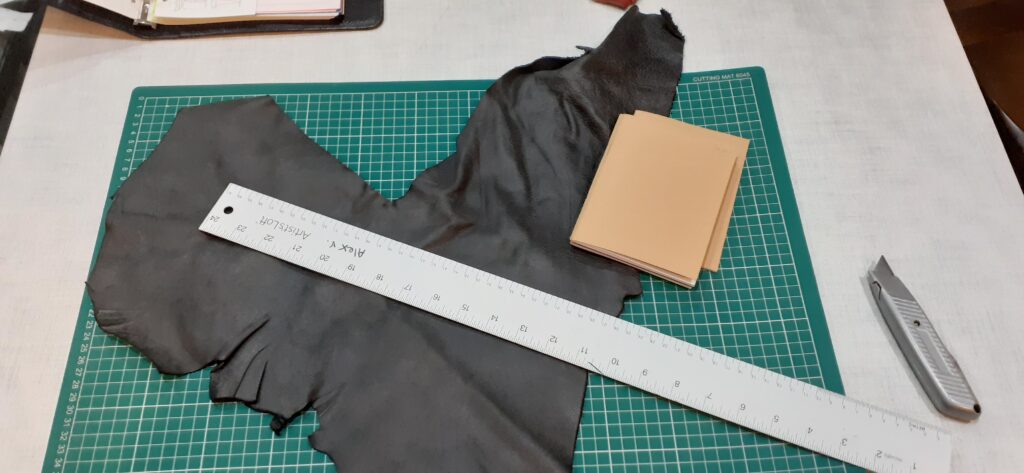
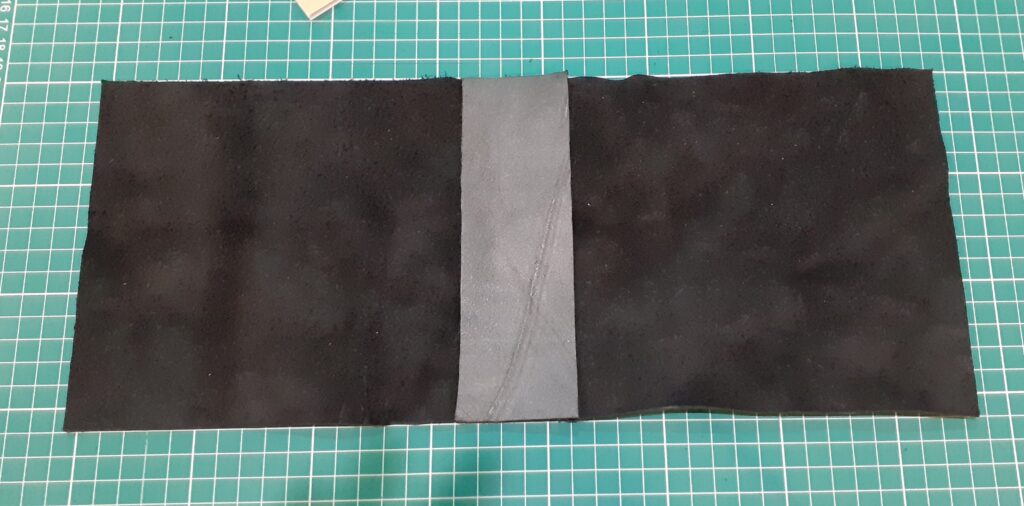
I used leather that is relatively thin, because this is what I had. It’s still flexible and easily folded over, which is unlike what I’ve seen online as used for TNs where they use the kind of leather seen in belts and bag straps etc:
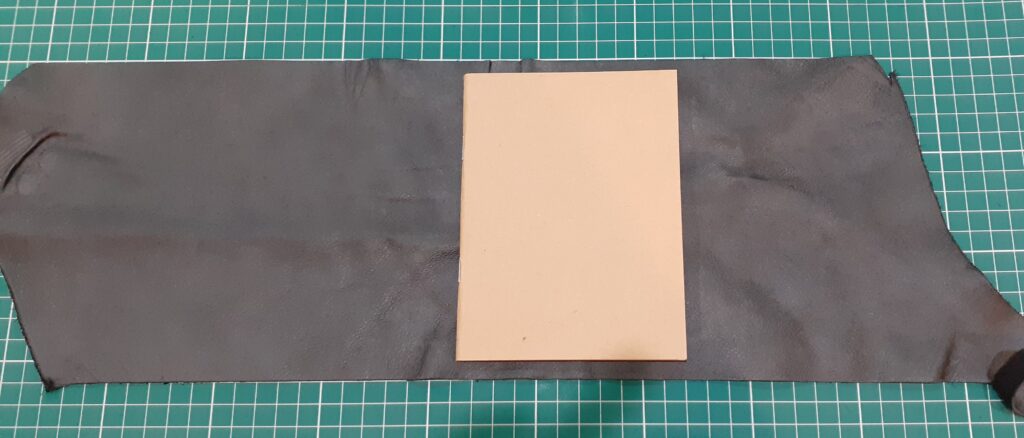
I cut the leather to size creating a long strip that’s a bit wider than the notebook is tall:
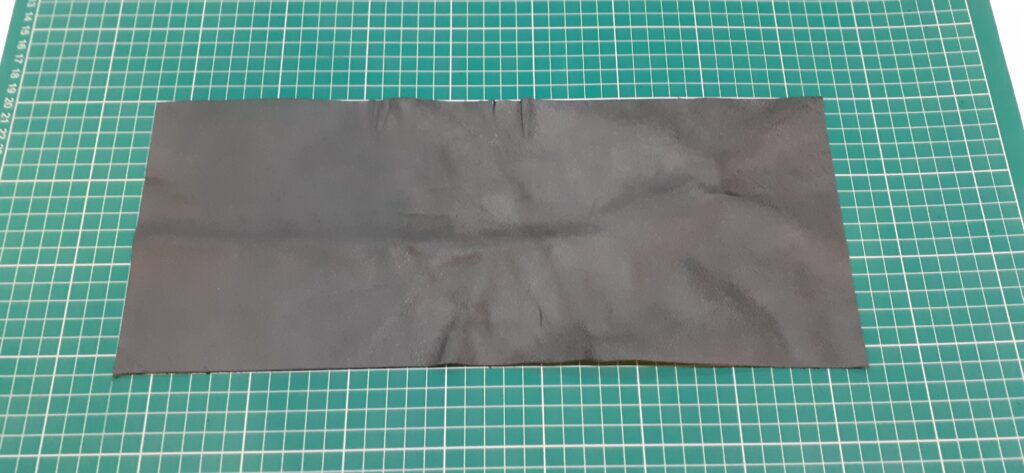
I trimmed off the uneven sides as tightly as possible to create the largest possible piece:
I also cut out a strip that is as tall as the shorter side of the bigger piece as I will use this to reinforce the spine of my TN:
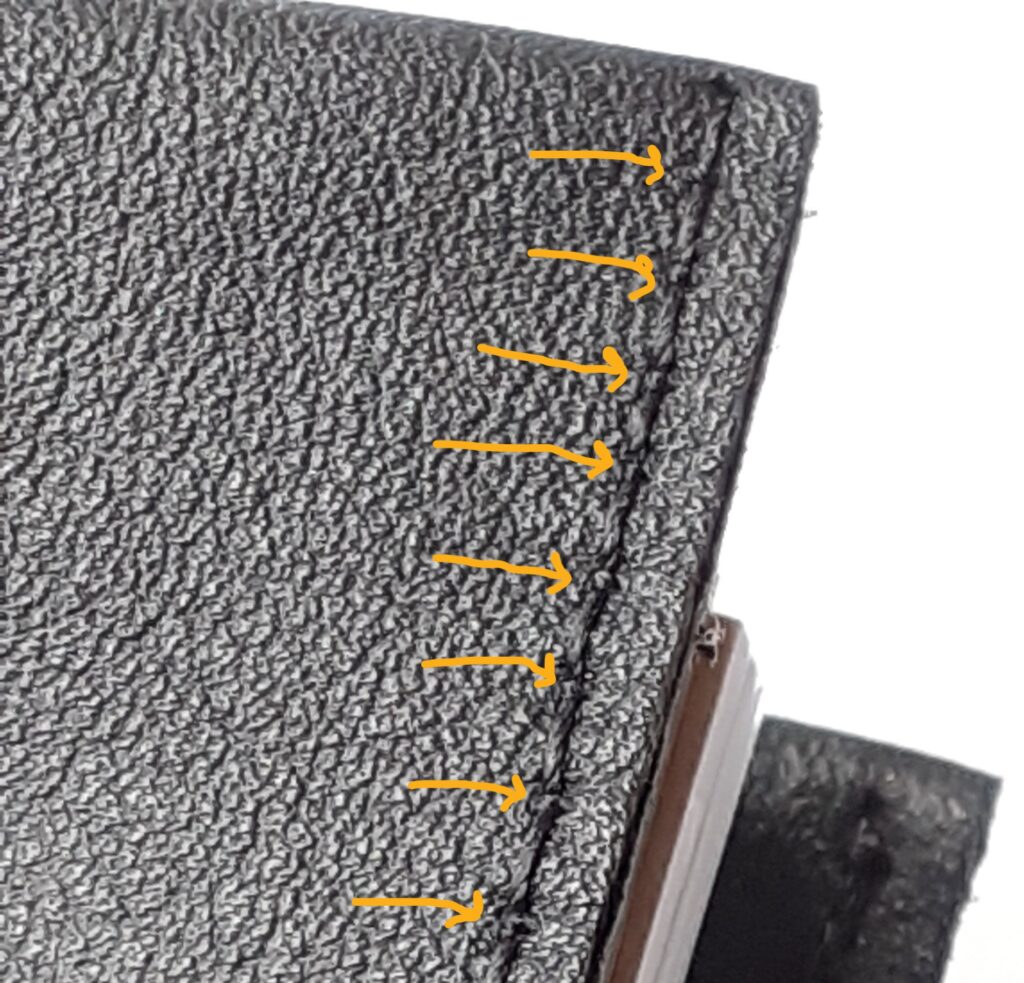
I then stitched the smaller strip to the larger piece using my Singer Heavy Duty sewing machine using a leather needle and nylon thread (made for sewing leather) using 4 mm stitch length:
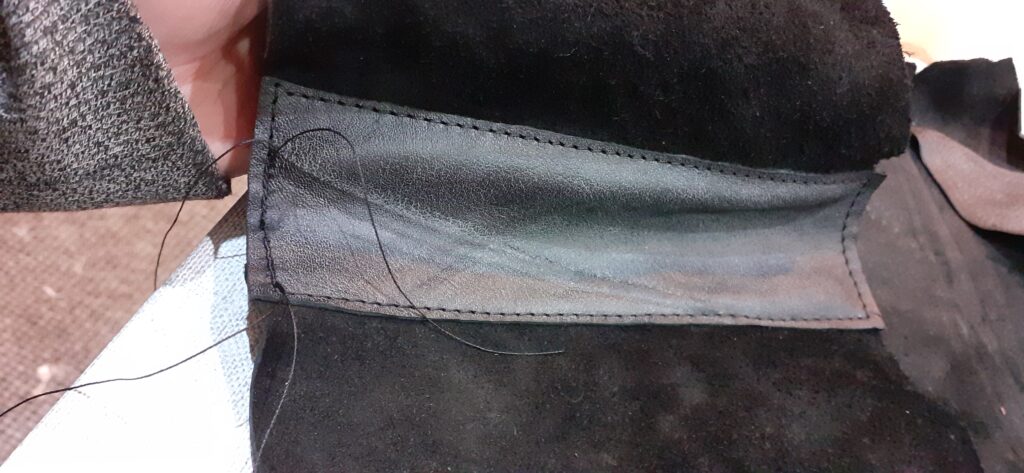
Usually when sewing woven materials, you start off and end a line of stitching with a bit that comes back over itself to prevent the stitching from coming undone. However, materials like leather and PVC are more fragile in that sense and you don’t want to create lots of holes very close to each other as this risks the material ripping there. So, I just stitched in one direction and left about 20 cm excess thread at the start and end of a line of stitching. I pulled one of the threads through its stitching hole to the other side and then knotted the two threads together. I then threaded the excess threads through the stitching for about 1.5 cm before I cut off the excess thread (as seen above, on the left of the spine of the TN).
Note that because the inner strip of leather was stitched onto the outer piece whilst laying flat onto each other, when the cover is folded over, the inner strip buckles. This was to be expected, and is something I also saw when I used tarpaulin for my Personal organiser.
Because of the buckling of the spine reinforcement strip, I stitched over this strip in a zig-zag kind of fashion as this would ensure the strip and the larger piece of the cover would be attached everywhere along the spine.
I folded over the edges to create a front pocket and back pocket. I finished the stitching in the same way as described above.
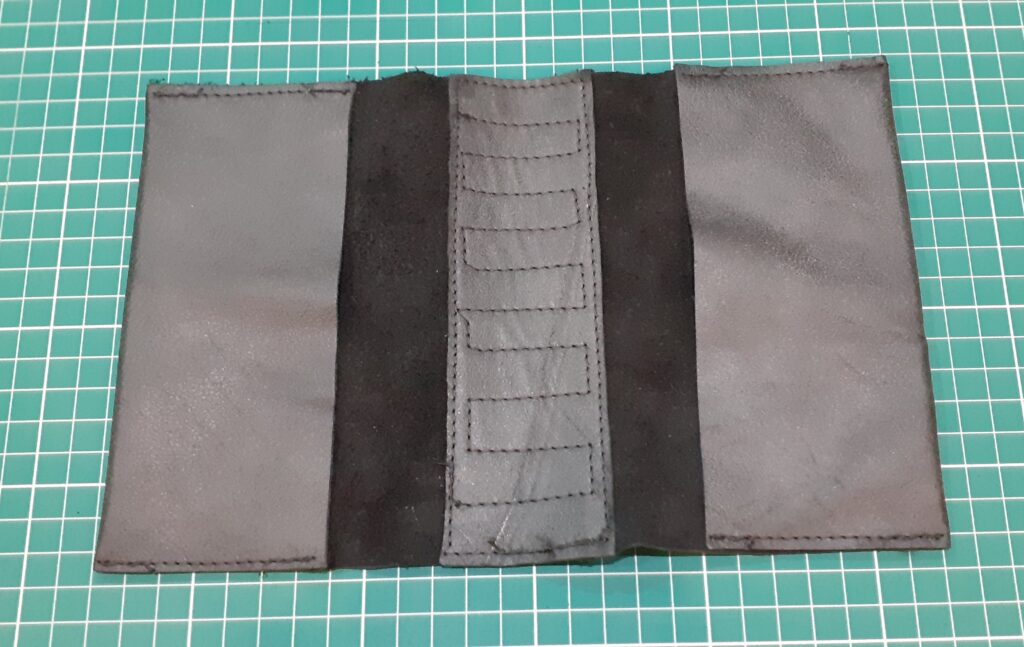
The stitching is all done, as seen from the inside:
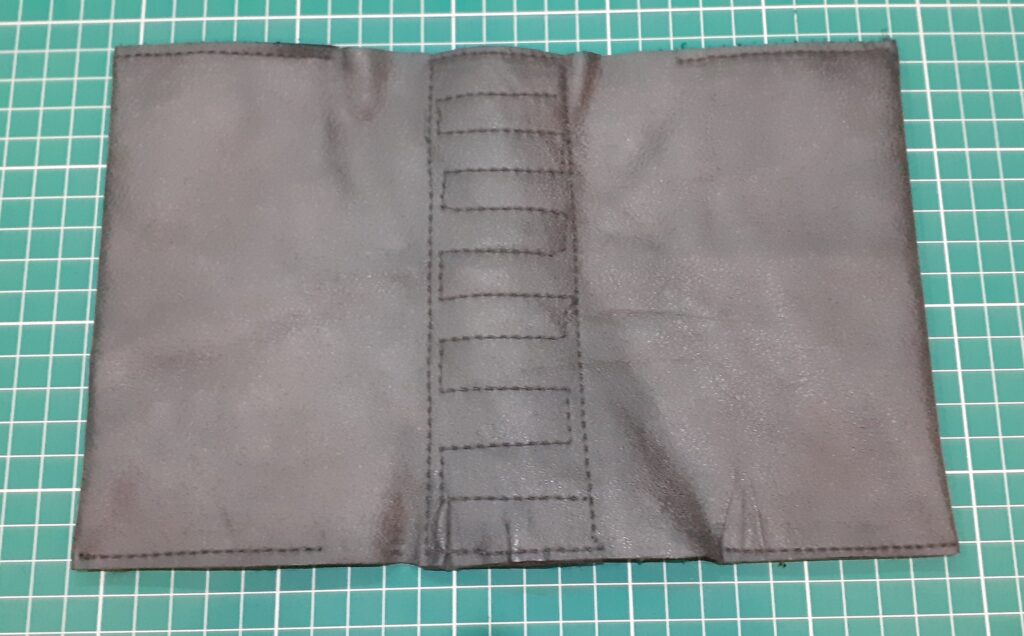
And the outside:
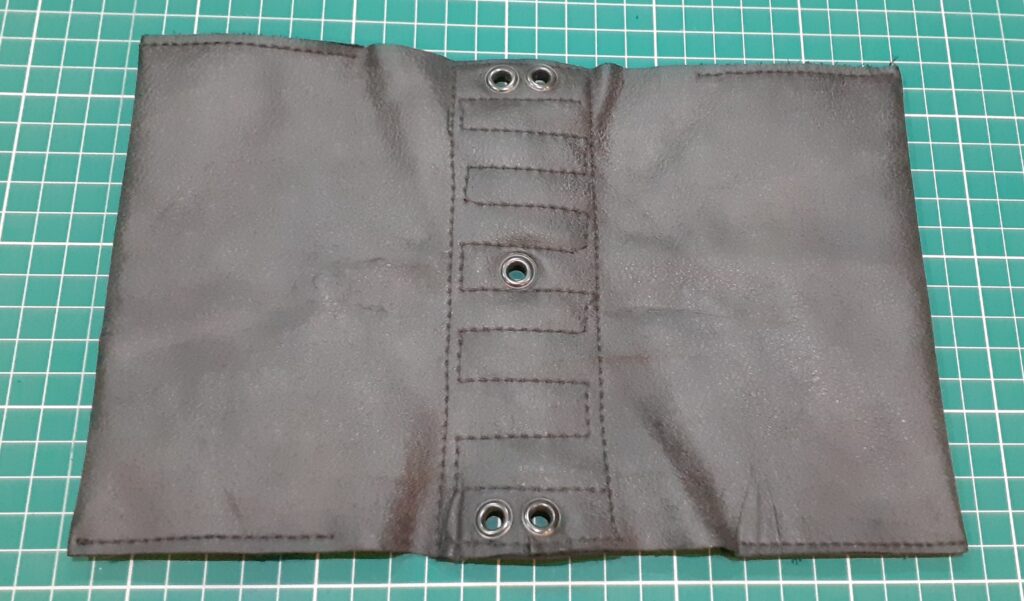
I then punched holes and inserted two-piece 5 mm eyelets (brand: Prym) in the top and bottom (through which the cords will be threaded) and one in the centre of the spine (for the closure elastic):
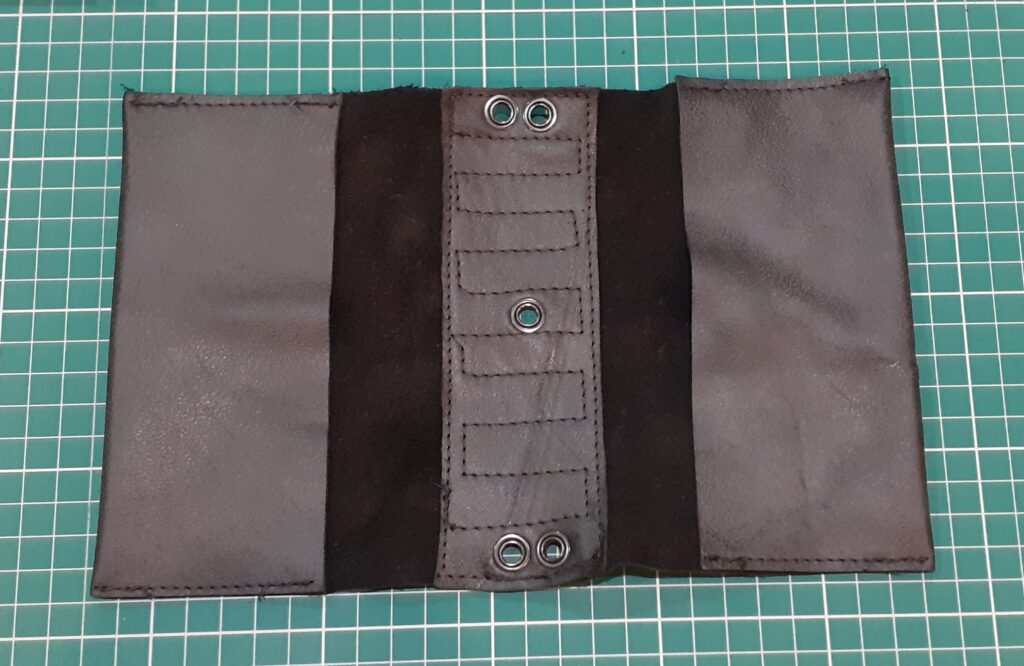
And as seen from the outside:
I haven’t yet ordered elasticated cord so I inserted just regular, thin synthetic cord through the top and bottom holes:
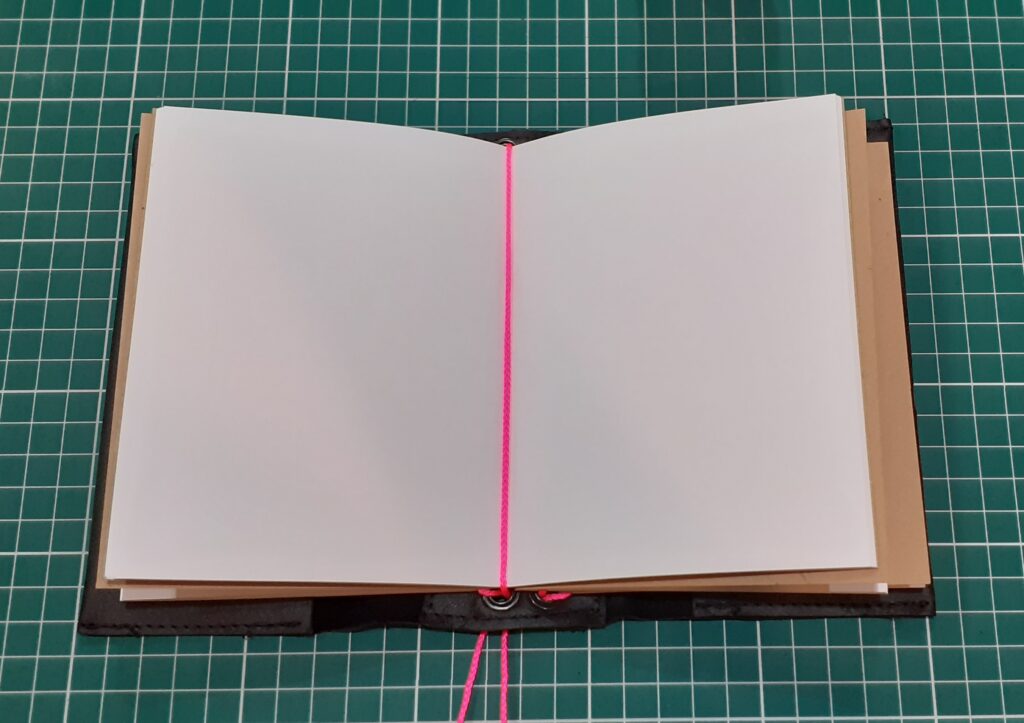
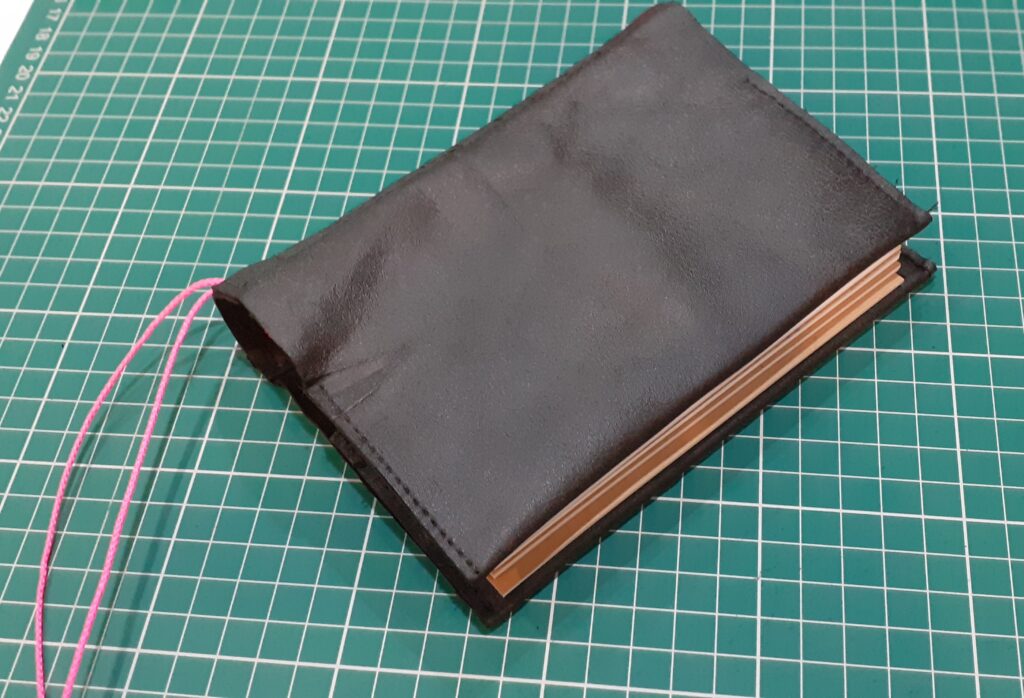
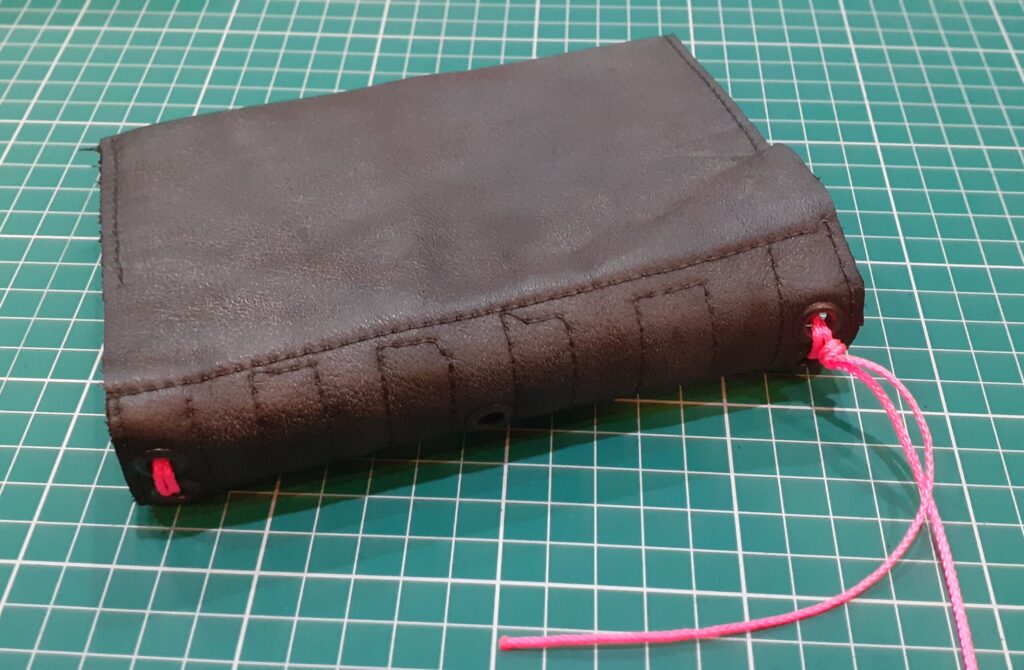
I slid the front cover of the first notebook and the back cover of the last notebook into the ‘pockets’ of the cover. I think this helps stiffen the cover as well as keep the notebooks in place.
This was fun to do and made me realise I have a way to go before I can make something that looks professional:
- The leather is much thinner than what I see used for TNs. I think I’d have to use two layers and glue them together to create the required stiffness for a TN cover.
- The stitching is challenging. I carefully sewed the stitching but there are issues with the tension. You want the threads to ‘cross’ each other in the centre of your material, not above or below as this exposes their ‘meeting point’ which leaves the small looped thread to wear and tear:
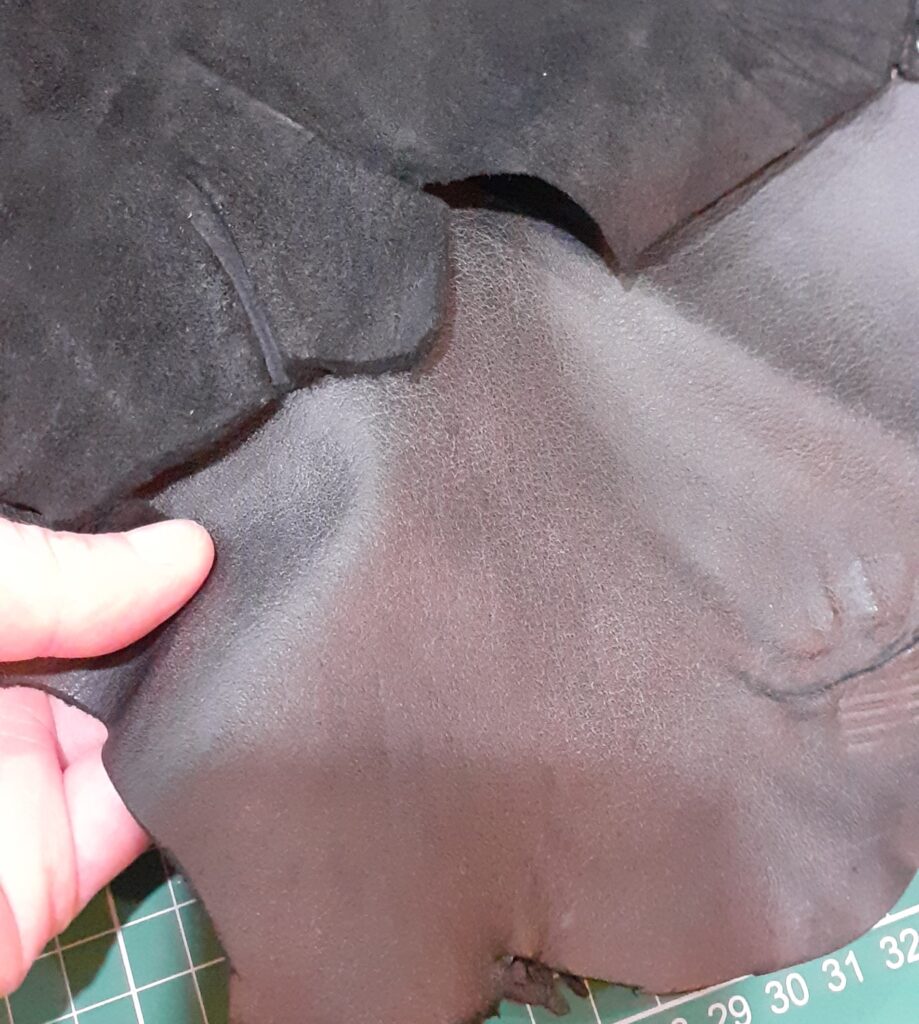
- The leather ‘flares out’ a bit which is because it wasn’t totally flat to start with. Leather comes from an animal and the animal is obviously not flat anywhere, really. I think the leather processing workers do their best to create a flat piece of material, but it might require some careful searching on a hide on your part to find the perfect flat spot for whatever pattern piece you need.
- I actually like the cord (that isn’t elasticated) to hold the notebooks into place, so I don’t think I’d use elastic for it. I have yet to order cord elastic for the closure, but elastic is for sure the way to go here.
Overall, this was a fun project and I hope to try again after making some improvements to my method!
One comment