Update: You can see my Deskfax Richmond in my YouTube video :).
So, it’s been a (not too long) while since my last post. I’ve been busy visiting family and working on a course I am currently taking, so my crafting has taken a little bit of a backseat. But not to worry, I’ve found my next craft project!
I have made several posts about Filofax, the loose-leaf binder/organiser system. I got into this in the summer last year and am for sure in love, ha! I use my Personal (my handmade one) daily, and I use my A5 (Finsbury) whenever I work on my course.
The A5 is great in that there’s plenty space to write lecture notes, draw diagrams etc, but I could use a little bit more space on each page. Filofax also make an A4 size binder, but this is a big step up from A5 (twice the paper size) making the binder quite bulky. Secondly, I am just not really into the ring mechanism used for Filofax’s A4 binders: there are only four rings, and they are spaced apart equally. In comparison to all the other ring mechanisms (using five or six rings, and on shorter page lengths), the mechanism used for A4 just looks ‘off’. Moreover, although I have not yet seen a Filofax A4 binder myself, I feel that with just four holes, the pages may fairly easily be accidentally ripped out…
But then I found out about the DESKFAX! I saw a vintage one on Ebay and was wondering what it is?! Turns out that Deskfax, or the “Professional” size, was a Filofax binder sized between A5 and A4, using B5 size paper. I haven’t ever seen B5 paper, I wonder if it is a USA thing, or maybe just a thing of the past? Anyways, this size binder has nine rings: three sets of three rings. This looks in line with the aesthetic of the other Filofax ring mechanisms and makes it feel like the paper would solidly be kept in the binder.
If you want to see what the Deskfax looks like, take a look at the posts on this model on Philofaxy. I am not sure why Filofax discontinued this size organiser because it seems like the perfect size for course work, illustrations etc. without having to resort to A4 (which might be too bulky for smaller bags/backpacks). Filofax still offer a small range of Deskfax inserts, but they don’t seem to sell the organisers anymore.
But not to worry, I found some 9-ring mechanism binders on Ebay. I purchased a cheap one with a plastic cover. I’ll see what the quality is like and if it’s any good, I will also try to find a 9-hole punch to order so that I can get started with making my own inserts by trimming A4 paper down to B5. I will then also make a sturdy cover for the binder to slide into so that it’s a fully-functional “Deskfax”. Can’t wait!
Update: I’ve since received my plastic Deskfax! I ordered this on eBay and it’s what I expected. The inner diameter of the rings wasn’t listed so I was a little disappointed to find that it’s only 20 mm. However, having filled the organiser and feeling the weight, I guess it makes sense to not have a (very) large ring capacity.
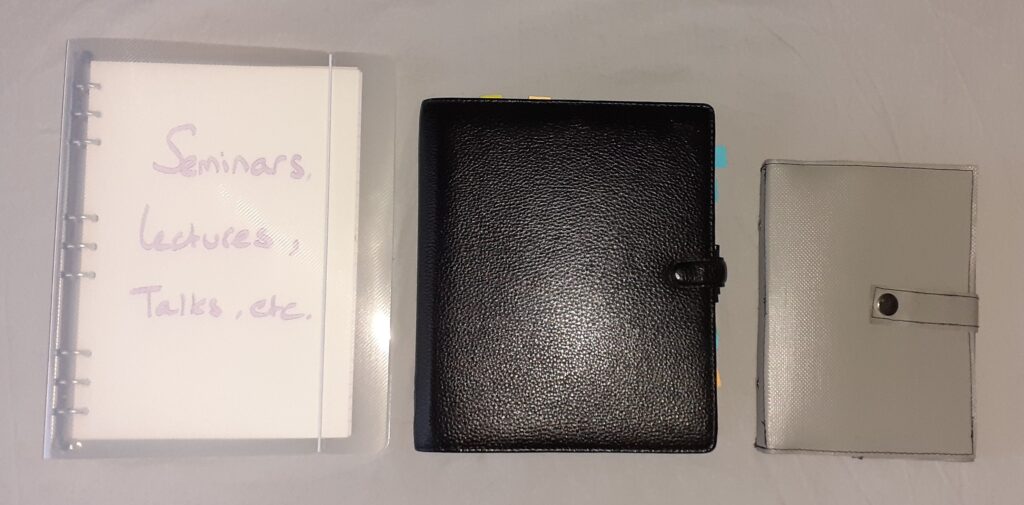
In comparison to a full A5 Finsbury and my handmade Personal:
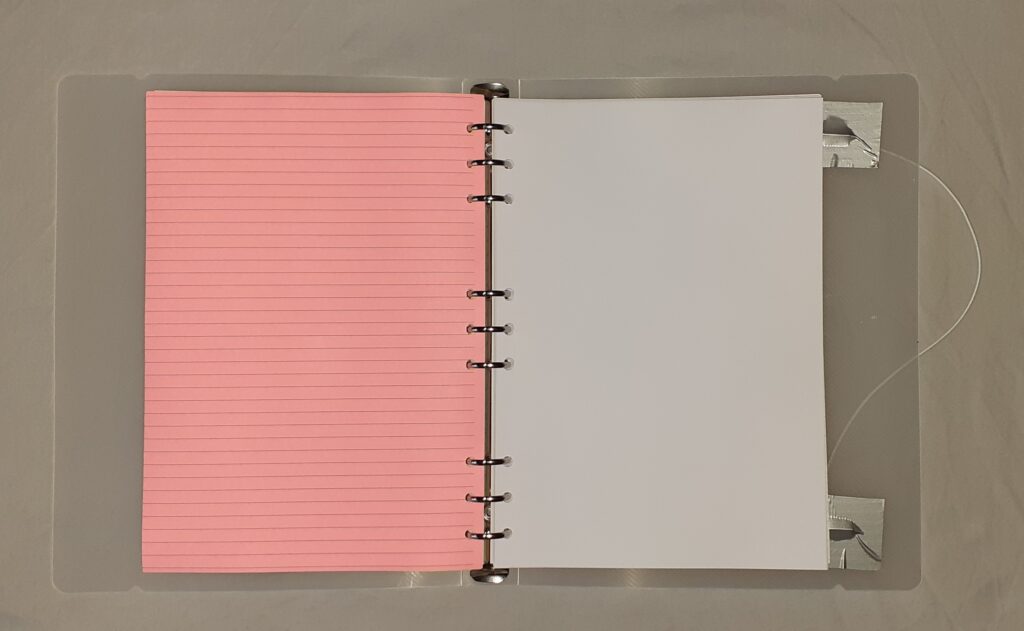
The elastic cord is attached through a hole in the plastic, with a metal thingie on the end. When the organiser is open, the elastic cord and thingie move through the hole further, which is annoying hence the tape to keep it in place. It looks a bit rubbish, though, so I might find another solution for this:
I made the pages myself from A4 paper that I trimmed to the B5 size the Deskfax takes. B5 paper is 250 mm tall and 176 mm wide. I was worried I’d have to get a 9-hole punch, but this is not the case! Philofaxy has a great video showing how you can use a 6-hole punch to punch nine holes suitable for the Deskfax. Here’s how I did this:
The Deskfax holes are three sets of three holes. The distance of the holes within each set is the same as for the Personal and A5 size. The distance between the sets is the same as in the Personal size. This means you can use Personal inserts in the Deskfax.
To create the three sets of three holes for Deskfax using a 6-hole punch, you need to punch two sets of six holes to the Personal configuration overlapping the centre set (so the centre set gets punched twice although the second time should align exactly with the first time so no additional paper is taken out).
I use a Rapesco 6-hole punch.
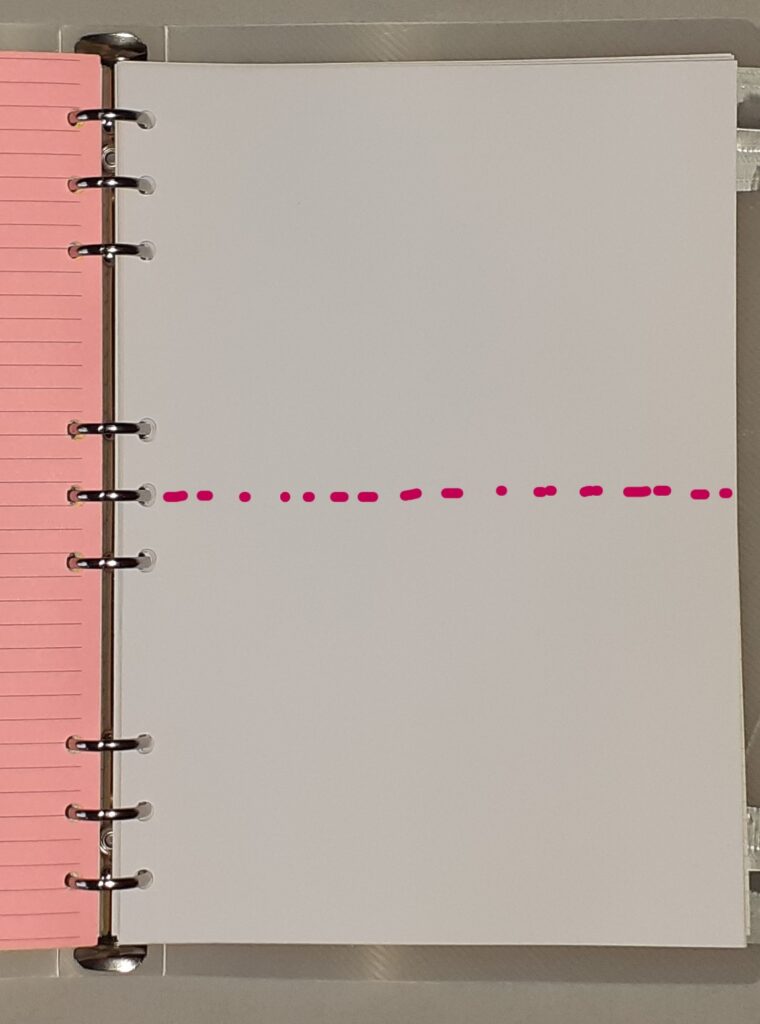
Step 1: I took a piece of thick paper/card trimmed to B5 size (250 mm x 176 mm) and drew a horizontal line in the middle (shown in pink here), this is where the centre hole of the centre set of three holes will sit (sorry, no photo of the card outside of the organiser):
Step 2: Take your 6-hole punch and set it to the Personal configuration. You can see that the marking for the Mini then sits right at the centre of the centre hole of the bottom set. I used a white Posca marker to draw a mark at this point on the top part of the hole punch, so this mark now marks the centre of the bottom set of three holes:
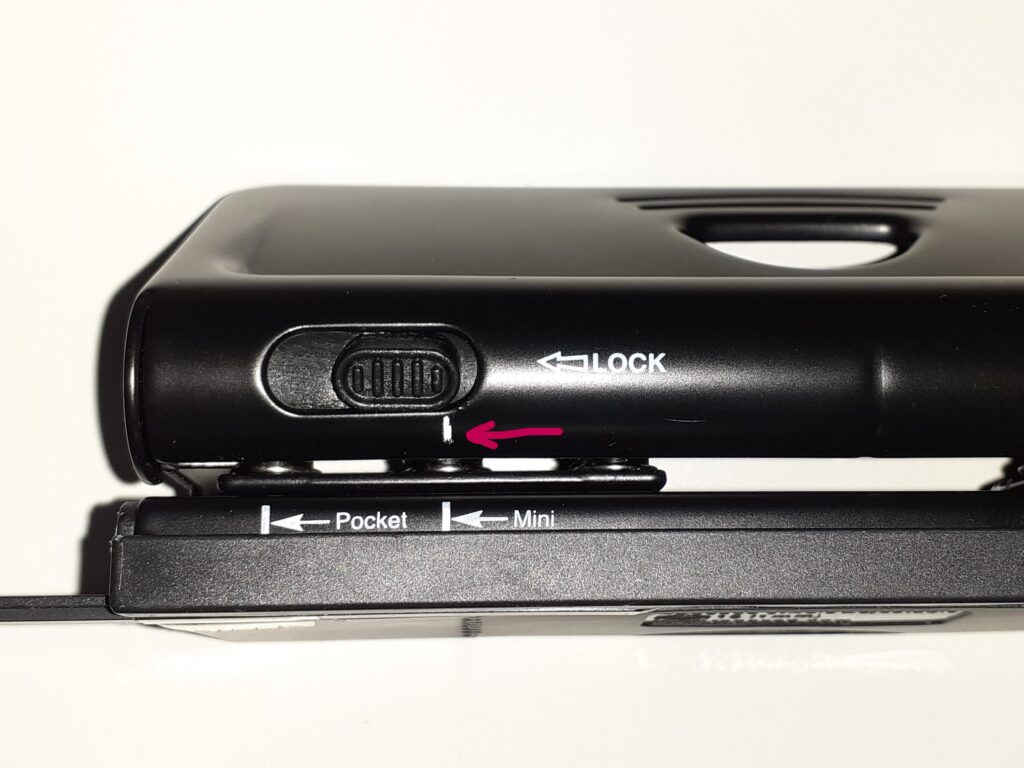
Step 3: Insert the B5 card and align the horizontal line on the card with the marking at the Mini position. Move the adjustment ‘spacer’ (the plastic thing you can pull out/push in) to where it sits at the bottom of the B5 card. Punch the holes. You now have the top set of three holes and the centre set of three holes punched out.
Step 4: Remove the card and flip over towards/away from you (as opposed to left/right). Insert the card into the punch to punch the bottom set of the holes (now at the top, because you flipped over the card). In this process you will punch the centre holes again. If you did everything correctly, the centre three holes will still be circles because the second time you punched, the centre holes were aligned exactly with when you punched them the first time and the second time punching did not take out any additional paper.
If your holes are oval (double), you need to try again and be more exact, ensuring the adjustment spacer didn’t move, and ensuring the hole punch is still set to the ‘Personal’ configuration.
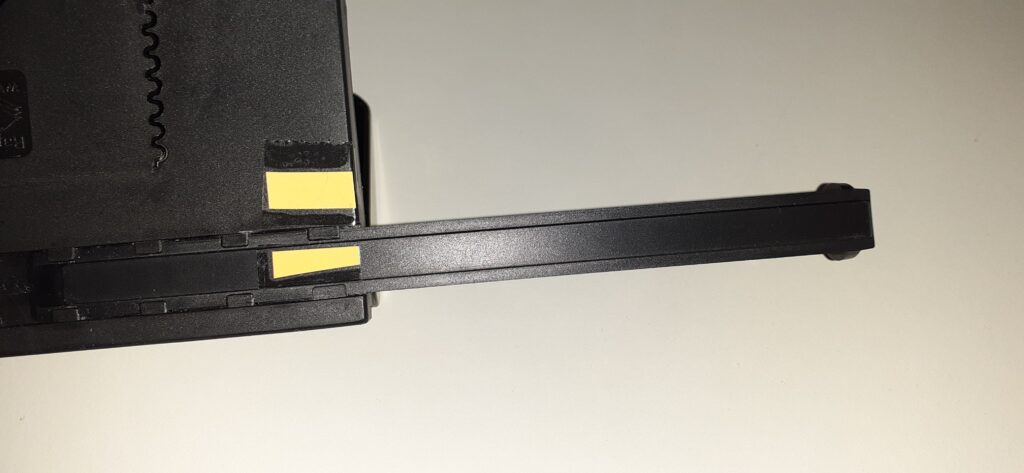
Step 5: Insert your 9-hole card into your Deskfax to confirm a perfect fit. If the fit is perfect, mark on your adjustment spacer and the bottom of the hole punch the current position so that a next time, you can easily find the exact spot. For this, I used a small piece of coloured paper from a sticky note, and some standard tape:
My hole punch is called “Rapesco 6-hole adjustable” for 10 pages (1 mm):

I hope this helps anyone looking for a little more space than A5 but not ready for how big A4 is!
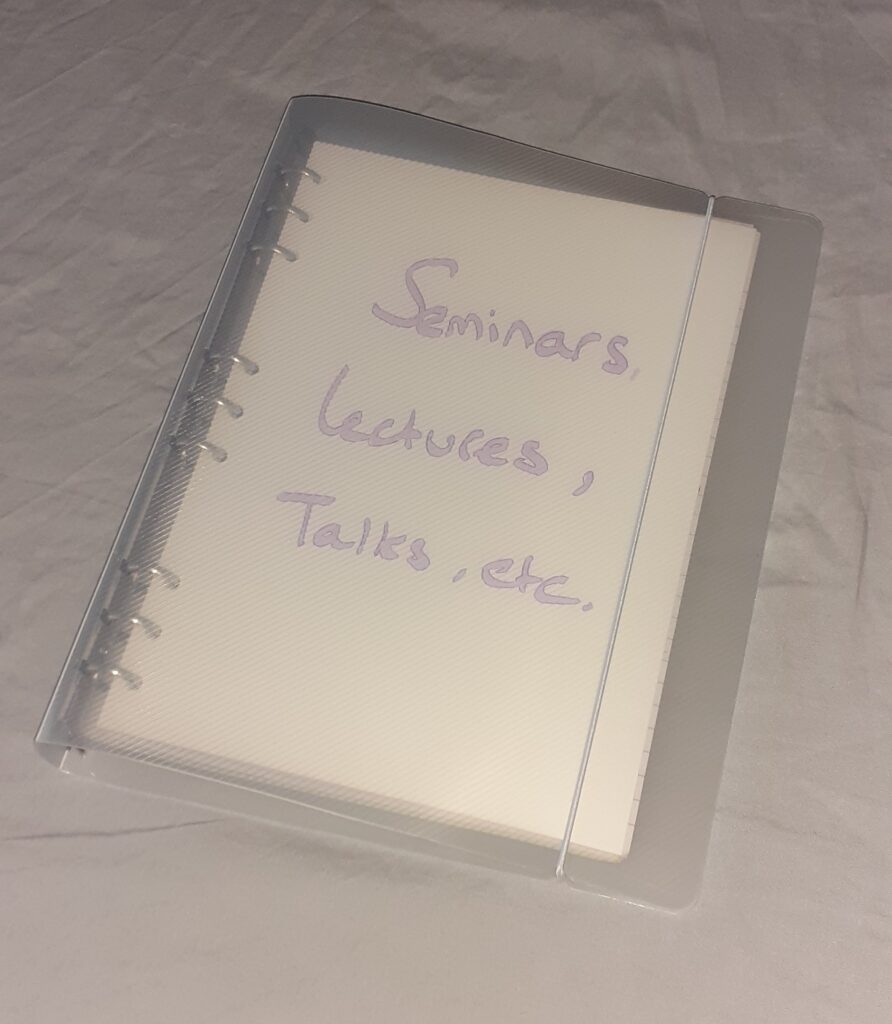
Update 2: I found a black leather Richmond Deskfax second-hand and HAD to have it. It arrived and I’m so happy with it:
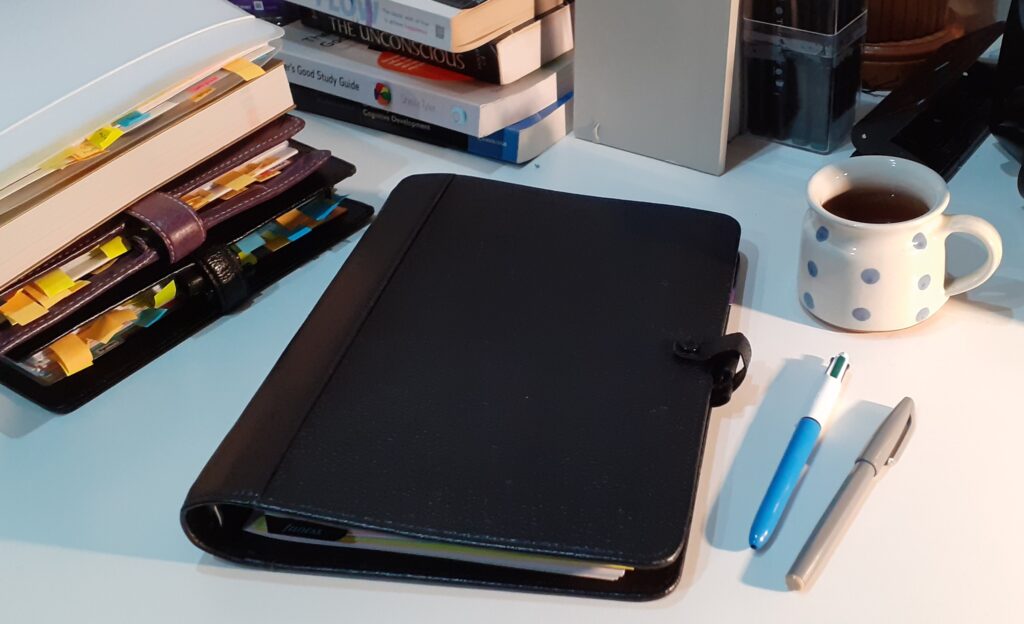
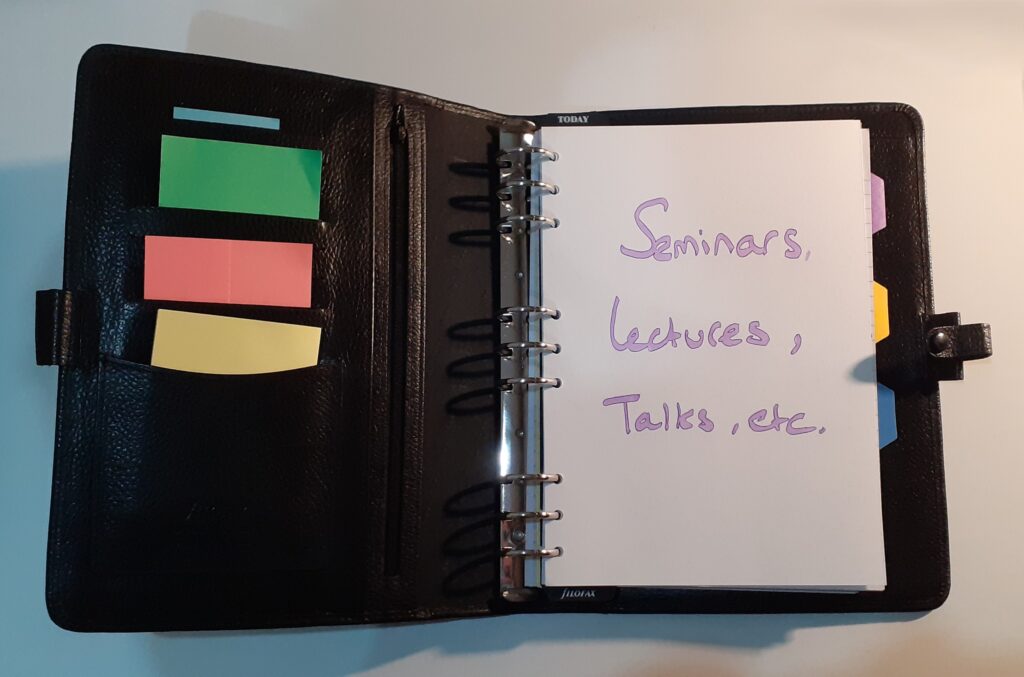
The dividers are thick paper/thin card dividers made for A4 binders. I trimmed them to size by cutting off the excess paper at the holes and there where the tab did not sit. I then punched in the nine holes required for Deskfax. I am using this Deskfax for notes taken at seminars etc, and for my notes and sketches for my Almalauha designs.
This is the first Richmond I’m seeing. The cover is a little less rigid than my A5 Finsbury but still good (not ultra floppy like Malden). The strap on the Richmond is thinner/floppier than the one on the Finsbury and allows for quite a lot of contents in the Richmond. So, if you’d want, you could really stuff the Richmond rings to the max (30 mm inner diameter ring capacity).
Today I joined the Philofaxy monthly chat and learned from Steve Morton that the Deskfax size existed before Filofax made A5 size organisers. That explains a lot! I guess once A5 was introduced, and once people started using PDAs, Deskfax lost its appeal and people might have opted to use an A5 (or even Personal) alongside their PDA. I’m too young to have used a PDA although I had heard of them. But I think there’s value in having things written (or printed) out on paper as opposed to having everything stored inside a device, which is why I still use a paper diary.